After careful consideration I have decided to transfer all hardware review activities to a new domain. I purchased Hardwareasylum.com in 2012 and have been working hard to build a new and improved Ninjalane on that domain. If you are reading this you have reached one of the archived articles, news, projects and/or reviews that were left behind during the site migration.
Please update your bookmarks and be sure to visit the new and improved Ninjalane at Hardwareasylum.com
Coolermaster Aero7+ Review
Author: Dennis Garcia
Published: Saturday, June 14, 2003
Introduction
Some time ago, actually during the CeBit 2003 show in Hannover, Coolermaster announced a new heatsink using a skived fin copper base similar to that found on xDreamSE and toped it off with a fancy new blower motor instead of the traditional axial fan. Coolermaster claimed that this new heatsink stole the show and for good reason. The cleaver design solves many of the problems that most traditional heatsinks are plagued with; they cannot blow any air directly over the CPU die.
Much like other Coolermaster products the Aero 7+ has been improved over the original Aero 7 design. The updates are minor but do enhance the product.
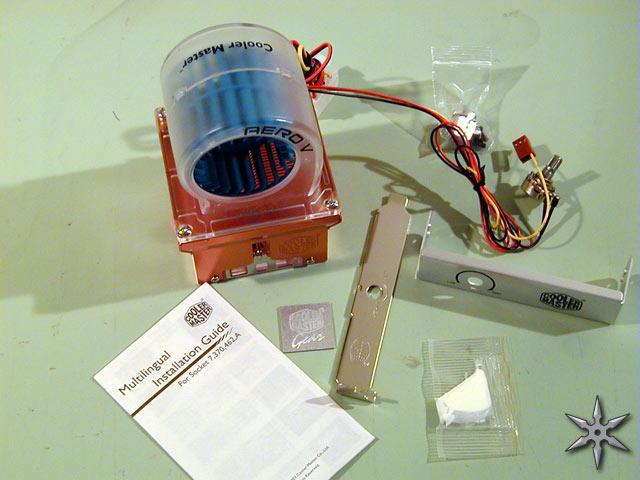
The packaging comes with everything you will need to get up and running, this includeds the heatsink, mounting hardware for the fan control in either a 3.5" floppy bay or expansion slot, thermal paste, and a nifty textured case badge.
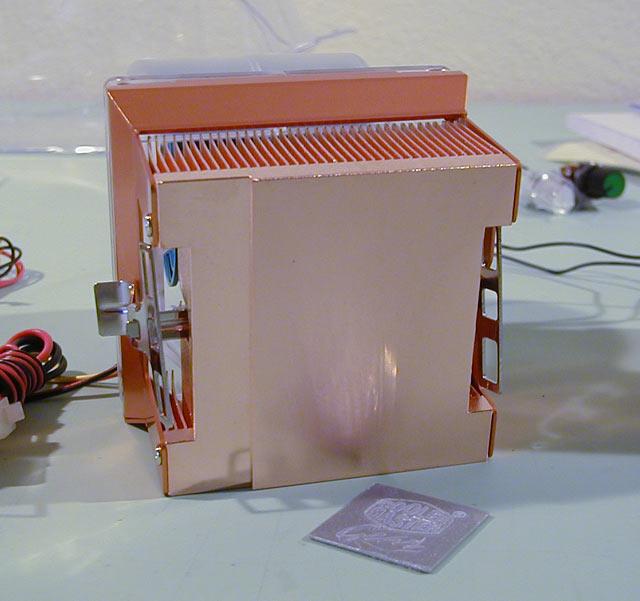
If you are familiar with the xDreamSE then you will already know much about the Aero 7+. Aside from a few modifications the heatsink is pretty much the same. The base of the heatsink has been milled flat though remains unpolished and a quick test with a straight edge showed there to be no visible imperfections.
If you are familiar with the xDreamSE then you will already know much about the Aero 7+. Aside from a few modifications the heatsink is pretty much the same. The base of the heatsink has been milled flat though remains unpolished and a quick test with a straight edge showed there to be no visible imperfections.
One of the changes between the Aero 7+ and xDreamSE is the addition of a texture to the copper fins. This provides additional surface area for heat dissipation and also makes you wonder how they did it. 
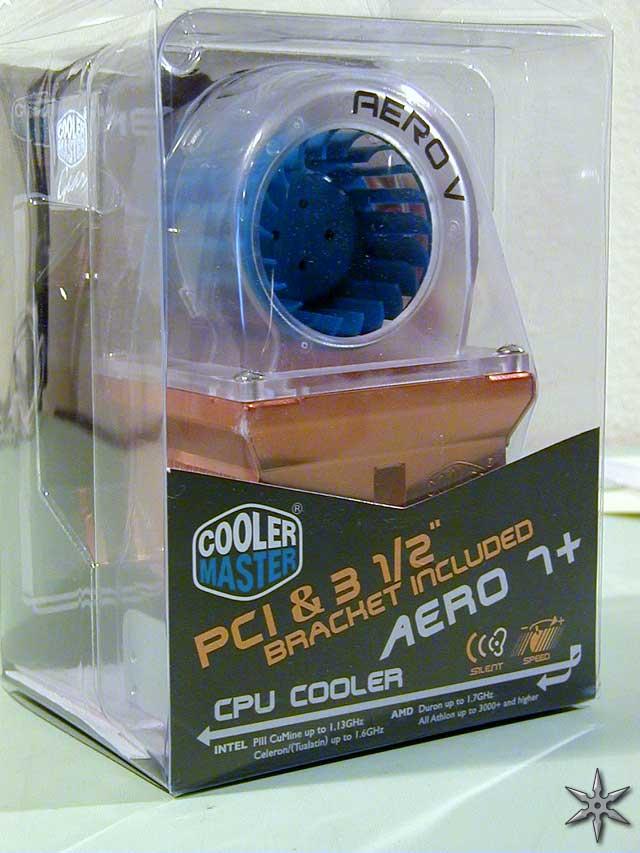
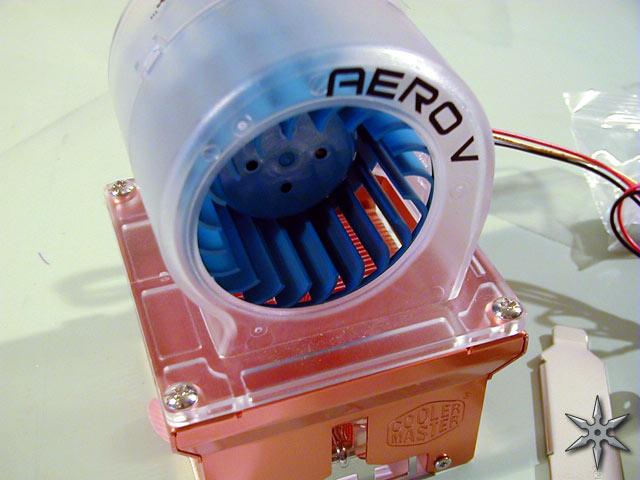
The thing that makes the Aero 7+ so unique is the rather large blower motor fan. According to the documentation, this blower motor will move between 10.2 to 26.9 CFM of air while spinning at a maximum of 3500rpm.
The thing that makes the Aero 7+ so unique is the rather large blower motor fan. According to the documentation, this blower motor will move between 10.2 to 26.9 CFM of air while spinning at a maximum of 3500rpm.
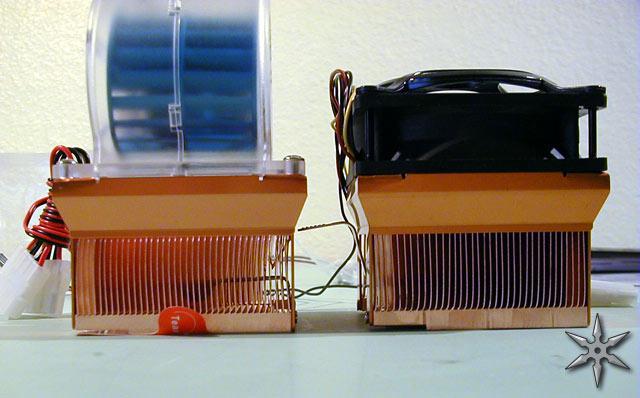
As you can see the Aero 7+ is also quite a bit taller than the xDream and other traditional heatsinks. This might be an issue if used in a desktop or small form factor case so be sure to check our clearances.

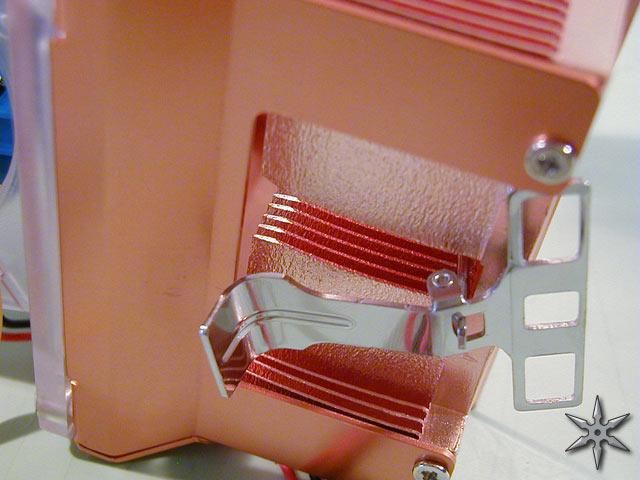
The Aero 7+ isn't without issues, as I have noted in previous xDream reviews the quick and easy thumb tab actually causes clearance problems on certain motherboard configurations. For instance when used on VIA KT400 motherboards the thumb tab would completely block the first memory slot. One of the upgrades that Coolermaster performed on the Aero 7+ was to reduce the size of the thumb tab by clipping most of it off. The tab will now clear the memory slot but in the process makes it rather difficult to install (provided you have big fingers, like mine). The heatsink can still be installed but for me I needed to bend the tab away from the heatsink body to allow enough leverage to install the clip.
Photo on the left: the tab has been unmodded.
photo on the right: the tab has been bent so it could be installed.
Photo on the left: the tab has been unmodded.
photo on the right: the tab has been bent so it could be installed.