After careful consideration I have decided to transfer all hardware review activities to a new domain. I purchased Hardwareasylum.com in 2012 and have been working hard to build a new and improved Ninjalane on that domain. If you are reading this you have reached one of the archived articles, news, projects and/or reviews that were left behind during the site migration.
Please update your bookmarks and be sure to visit the new and improved Ninjalane at Hardwareasylum.com
CoolerMaster Hyper 212 Heatsink Review
Author: Dennis Garcia
Published: Monday, April 07, 2008
Installation
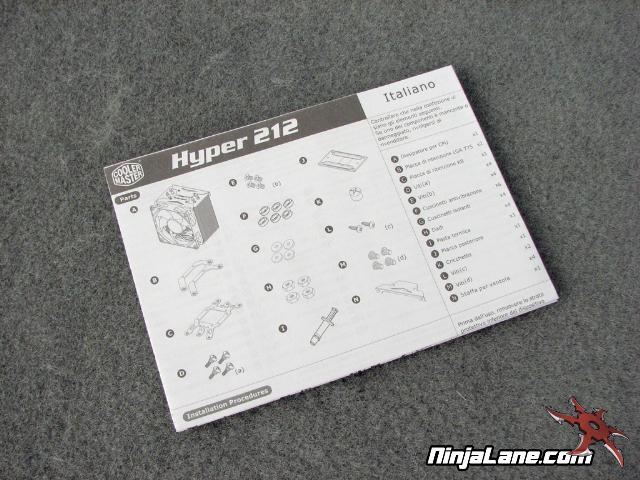
One thing we really like about Cooler Master products are how easy they are to install. The Hyper 212 installs much like the Cooler Master Vortex 752 and uses a variety of screws and adaptors to anchor its self to the motherboard.
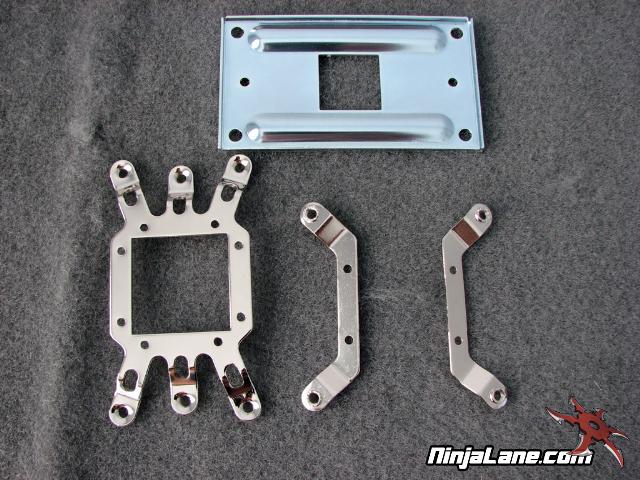
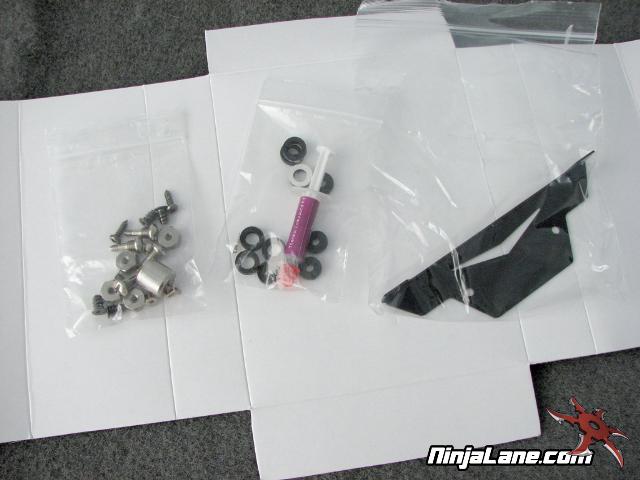
The CoolerMaster Hyper 212 comes with mounting hardware for both Intel 775 and AMD systems. Since we'll be testing on the Intel 775 we need to use the 2 small mounting plates along with the mounting screws. These screws feature a reverse thread so that they will lock into place during the second part of the installation process.
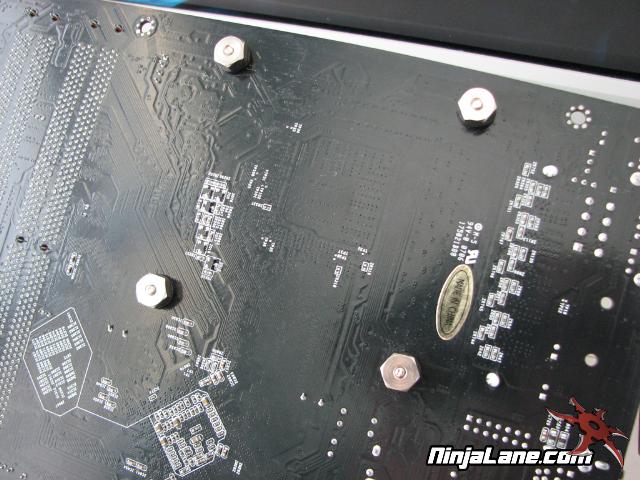
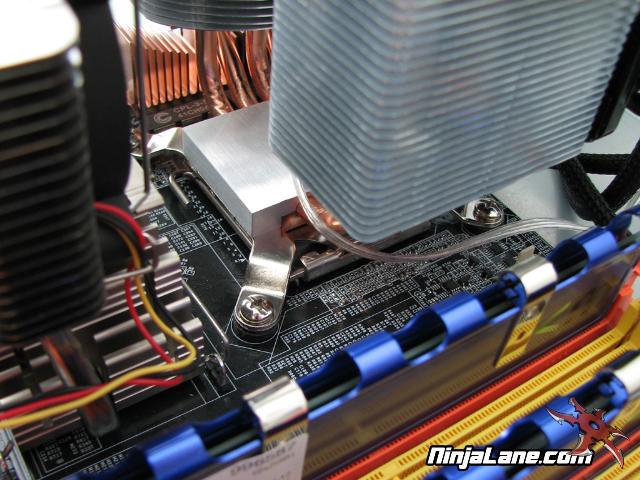
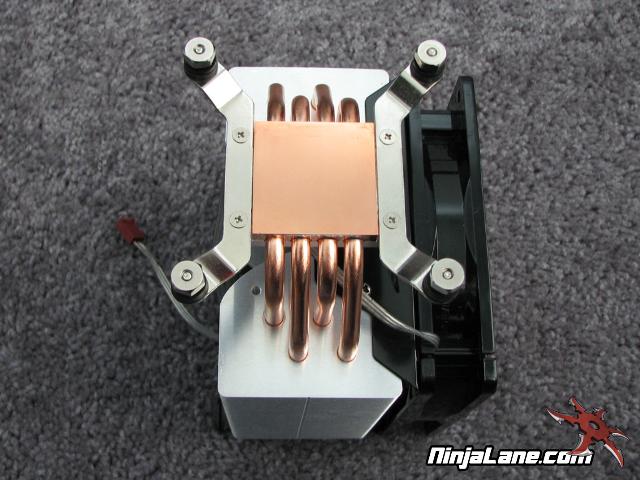
Next apply your favorite thermal compound (we like AS5) and install the cooler. A washer and nut combo are used to hold the cooler in place simply tighten these until they stop.
Hook up the cooling fan and you’re ready to go.
AMD installation is virtually identical though uses the larger mounting plate and metal reinforcement bracket.
Hook up the cooling fan and you’re ready to go.
AMD installation is virtually identical though uses the larger mounting plate and metal reinforcement bracket.
Adding the secondary fan is pretty straight forward and well documented in the included installation sheet. Simply snag the extra mounting bracket from the goody bag, remove the top bracket, attach the fan and then reattach the mounting brackets.
Its that easy just make sure the fans are blowing in the same direction.
Its that easy just make sure the fans are blowing in the same direction.