After careful consideration I have decided to transfer all hardware review activities to a new domain. I purchased Hardwareasylum.com in 2012 and have been working hard to build a new and improved Ninjalane on that domain. If you are reading this you have reached one of the archived articles, news, projects and/or reviews that were left behind during the site migration.
Please update your bookmarks and be sure to visit the new and improved Ninjalane at Hardwareasylum.com
Thermaltake BigTyp 14 Pro Heatsink Review
Author: William West
Published: Monday, February 23, 2009
Installation
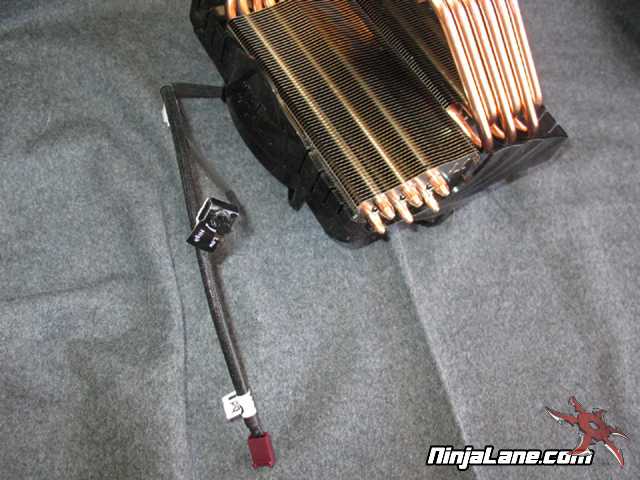
Here we have the fan power connector with the rheostat for controlling the speed of the fan. The wire is completely sleeved to make the presentation look much cleaner.
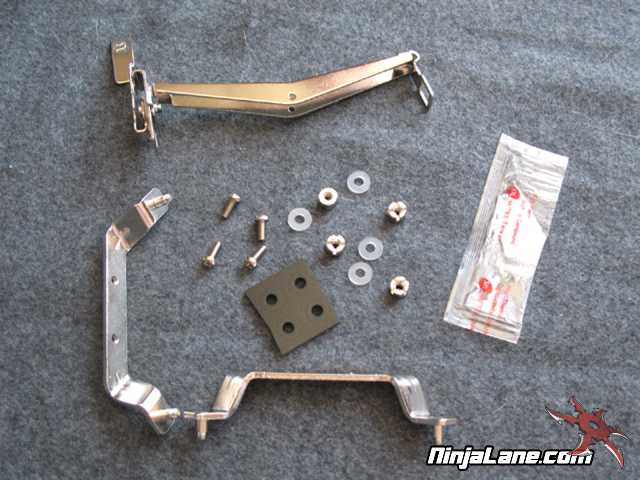
ThermalTake includes all the needed accessories to install the BigTyp 14Pro and can be installed on the following sockets. For AMD the sockets are AM2+/AM2/939/754 and for Intel it is the LGA 775 socket. Installing on the AMD side it is as easy as placing the BigTyp 14Pro over the processor and using the latch over the heatsink base plate. No motherboard removal or anything like that. Now for the Intel side there is some more work to be done.
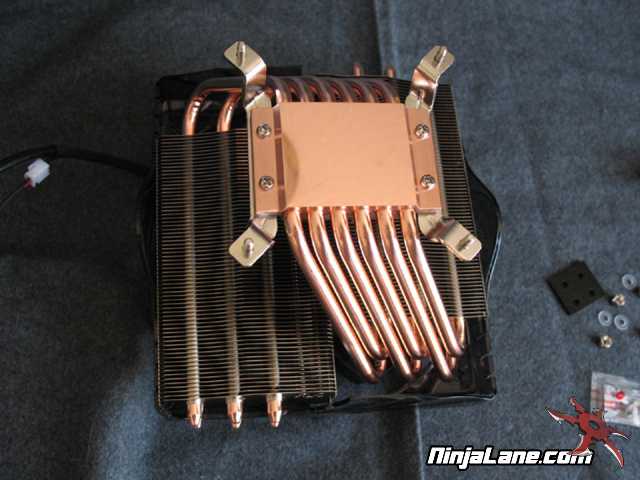
The first step for installing the BigTyp 14Pro on an Intel Socket LGA775 is to remove the motherboard from the case. Next you will need to prepare the heatsink. On the base of the BigTyp 14Pro are four holes to attach the LGA775 mount kit. It will look something like the photo below.
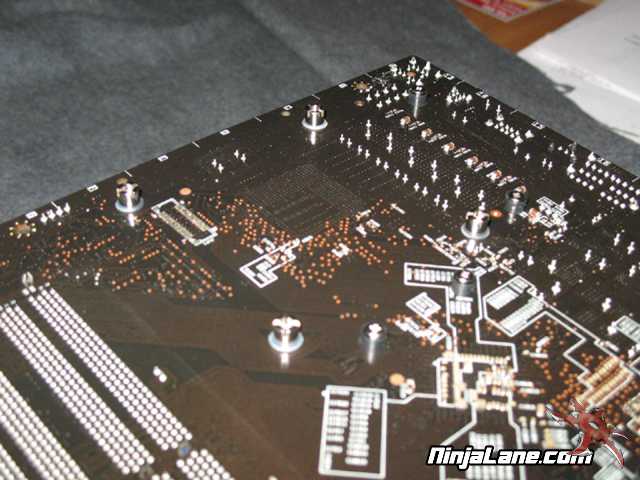
After prepping the BigTyp 14Pro for installation you will need to apply some good quality name brand thermal paste to the processor. Then place the nylon and rubber washers between the motherboard and the metal of the installation hardware. This is to prevent grounding between the heatsink and the motherboard. Flip the motherboard over and start tightening the screws onto the mounting gear.
The photos below give you the realistic idea as to just how big the BigTyp 14Pro is. Now take it all in and enjoy the pictures.
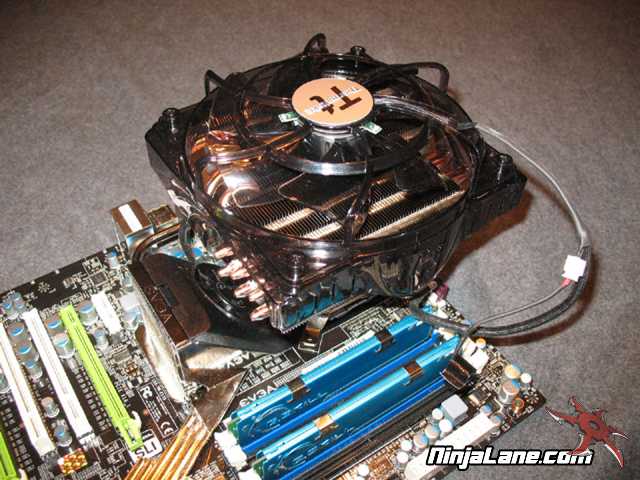
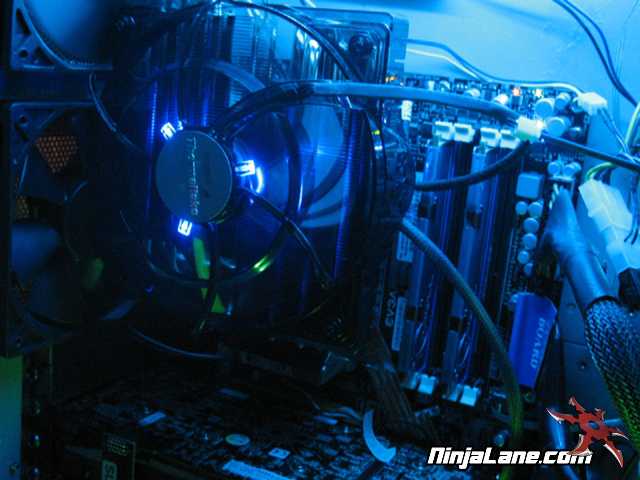
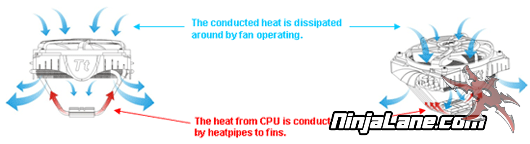
Take note of how the airflow from this large heatsink is able to cool the surrounding motherboard area.
let's move on to the testing.