After careful consideration I have decided to transfer all hardware review activities to a new domain. I purchased Hardwareasylum.com in 2012 and have been working hard to build a new and improved Ninjalane on that domain. If you are reading this you have reached one of the archived articles, news, projects and/or reviews that were left behind during the site migration.
Please update your bookmarks and be sure to visit the new and improved Ninjalane at Hardwareasylum.com
SilverStone NT06 Evolution Heatsink Review
Author: Dennis Garcia
Published: Wednesday, January 07, 2009
Installation
In the package you will find an assortment of goodies to install your NT06-E. Many of these parts are self explanatory but we’ll run down the list. You get mounting hardware for both 775 and A64 processors along with reinforcement back plates that double as washers for the small mounting parts.
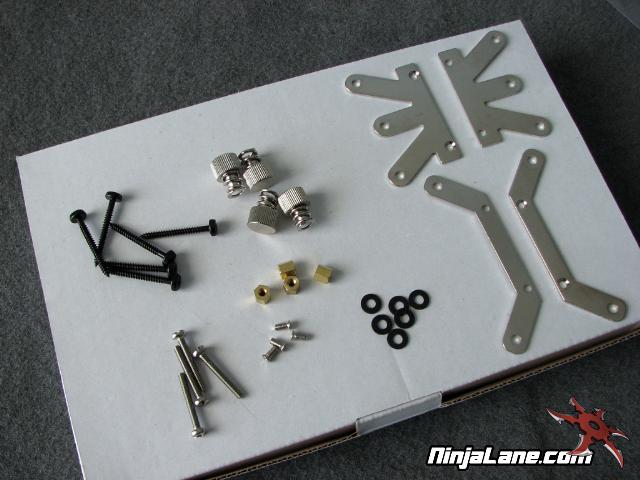
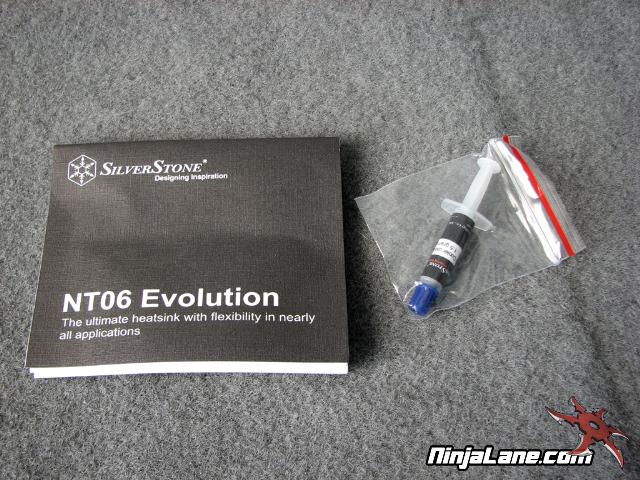
You even get a manual and small tube of thermal paste.
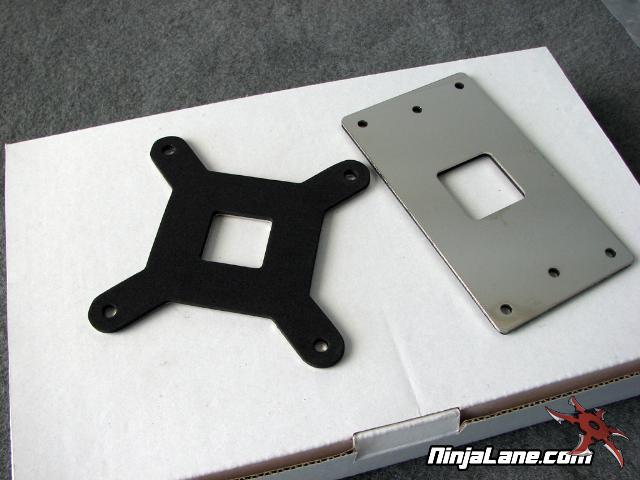
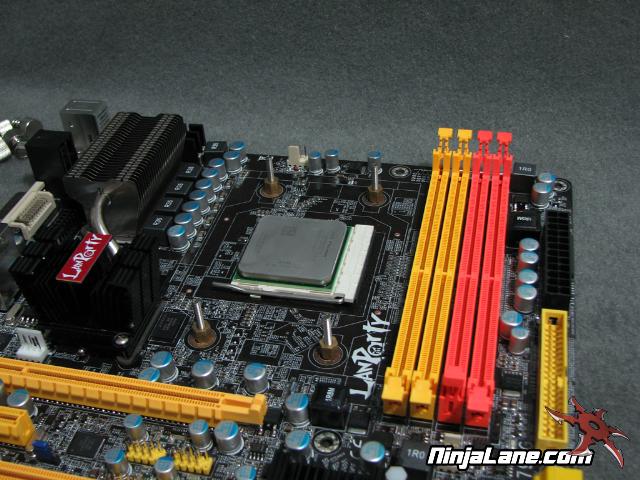
To install the heatsink you first must install the proper mounting plates, they simply screw into the copper base.
Next install the reinforcement back plate and slip the longer screws thru so they face up.
There are 4 brass spacers that need to be installed next that both hold the screws in place and also prevent the locking screws from applying too much pressure. This is where good metal or nylon washers would have been helpful.
We didn’t use the small rubber ones that SilverStone included, they were just too flimsy.
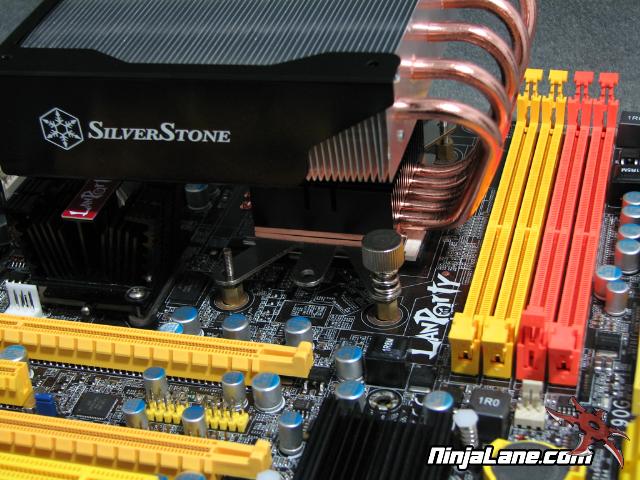
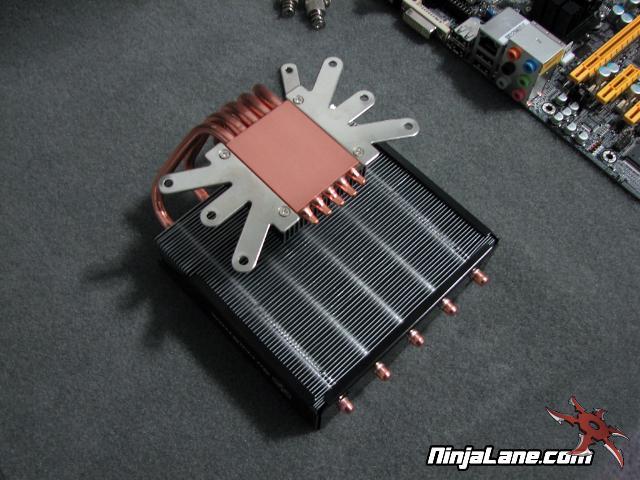
The last step is to apply some thermal paste and lock the heatsink into place.
Be sure you have plenty of room for this step as any sort of MOSFET cooler or heatsink nearby will make installation next to impossible. Not only are the thumbscrews long winded but they are hard to hold on to if there isn’t a lot of space.
Be sure you have plenty of room for this step as any sort of MOSFET cooler or heatsink nearby will make installation next to impossible. Not only are the thumbscrews long winded but they are hard to hold on to if there isn’t a lot of space.