After careful consideration I have decided to transfer all hardware review activities to a new domain. I purchased Hardwareasylum.com in 2012 and have been working hard to build a new and improved Ninjalane on that domain. If you are reading this you have reached one of the archived articles, news, projects and/or reviews that were left behind during the site migration.
Please update your bookmarks and be sure to visit the new and improved Ninjalane at Hardwareasylum.com
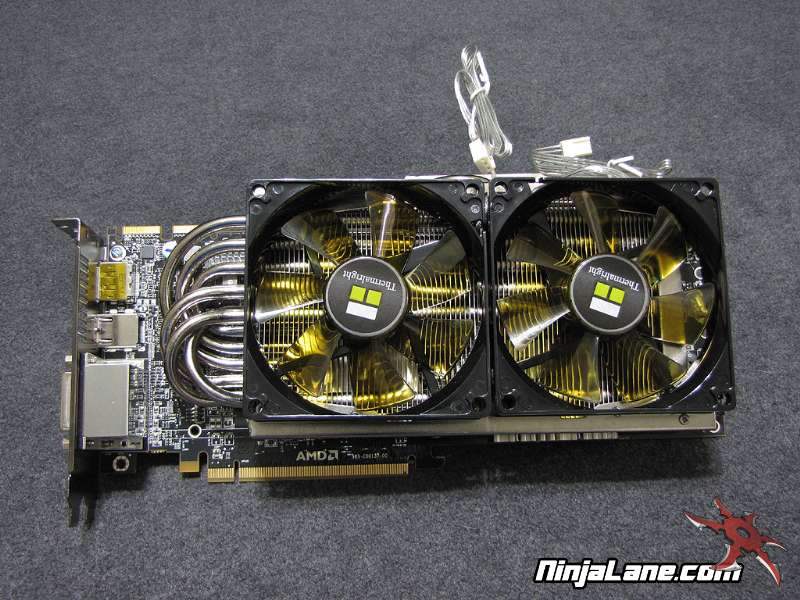
Thermalright T-Rad2 GTX & VRM R3 Video Card Heatsink Review
Author: Will West
Published: Wednesday, May 19, 2010
Installation
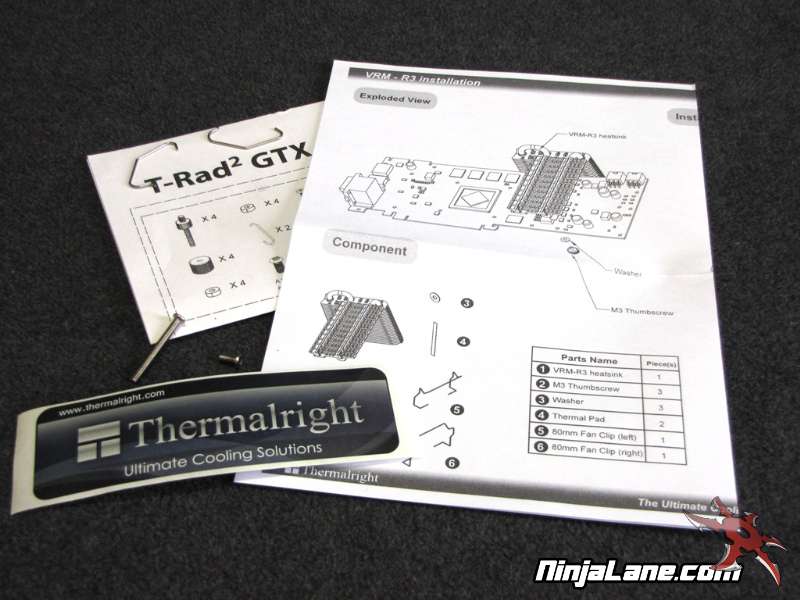
Both of the heatinks comes with very easy to read instructions and all of the needed hardware to get the job done including a set of BGA ramsinks and a tube of Chill Factor thermal compound.
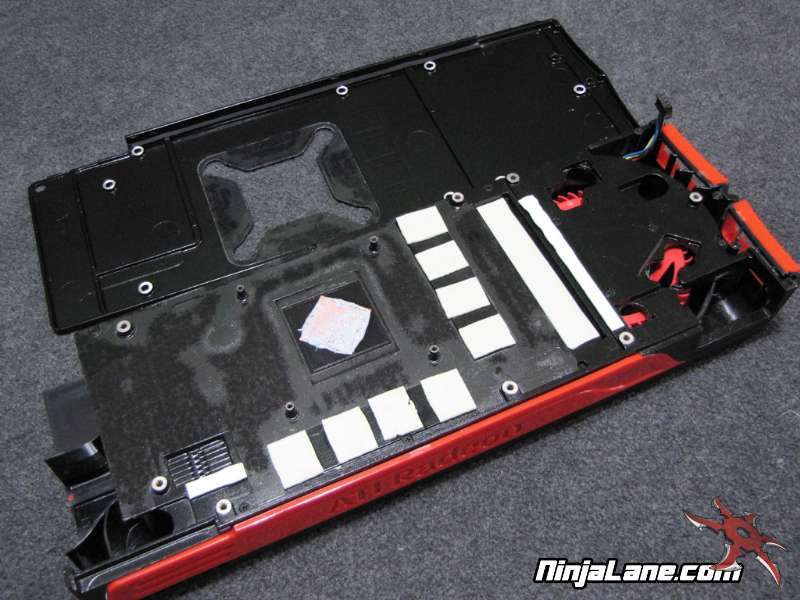
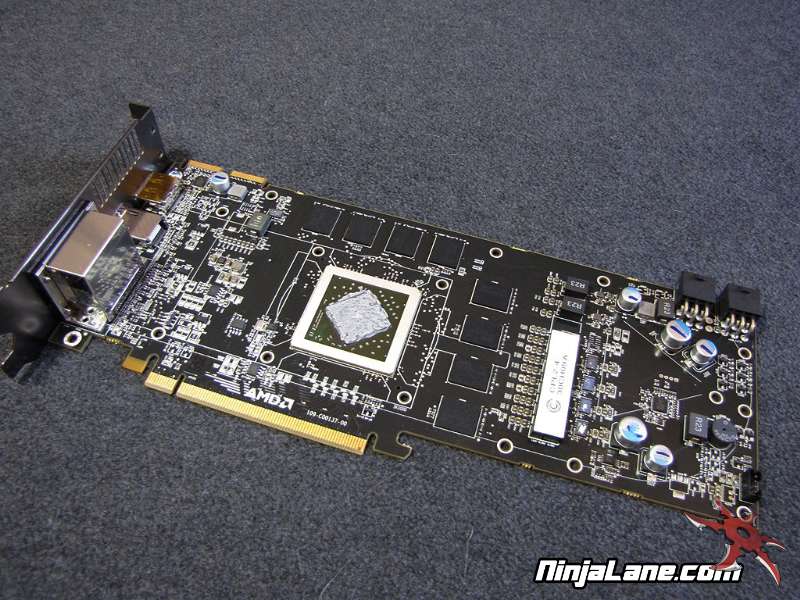
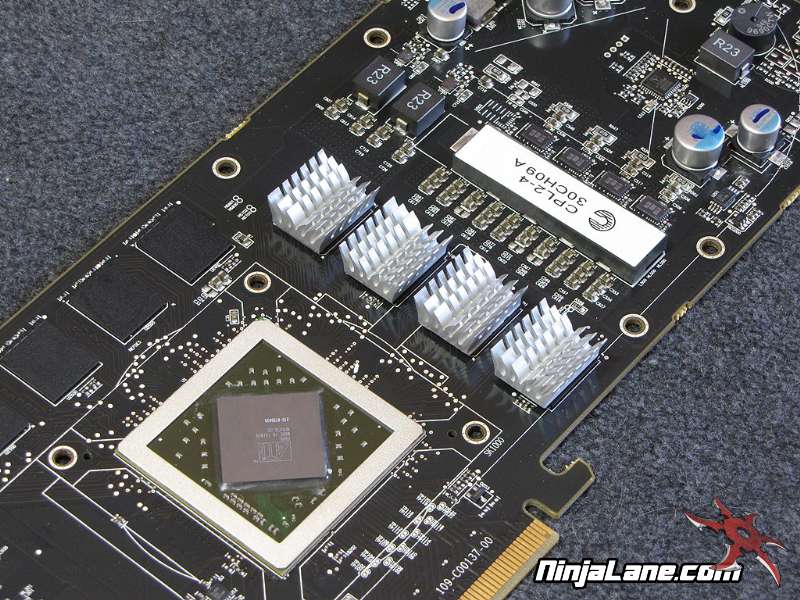
Installation starts by removing the OEM heatsink. To do this you'll need to remove a bunch of tiny screws including the two found on the digital output bracket. Then with some light tugging the OEM cooler can be removed to expose a bare Radeon HD 5870.
Next you'll need to clean the GPU and the Memory chips of grease and oils to allow for good contact with the T-Rad2 GTX, VRM R3 and ramsinks.
Next you'll need to clean the GPU and the Memory chips of grease and oils to allow for good contact with the T-Rad2 GTX, VRM R3 and ramsinks.
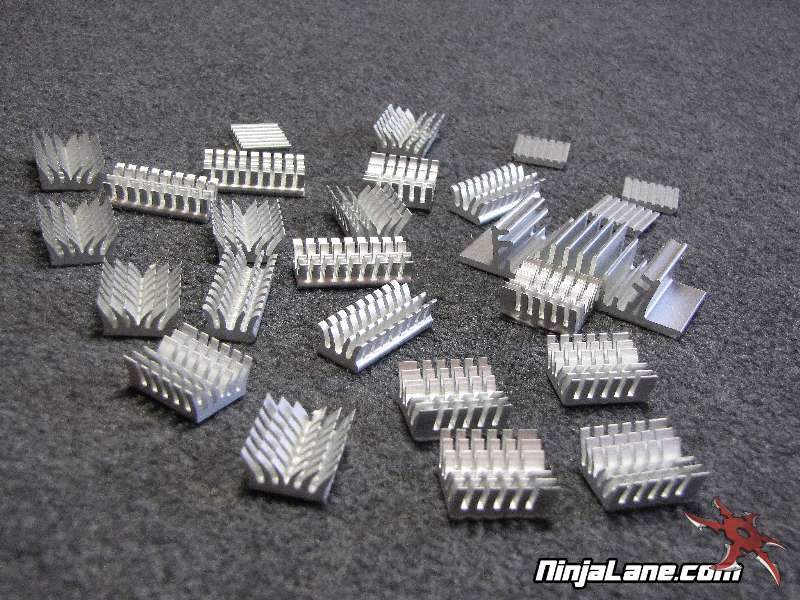
Once the card is clean you can install the ramsinks. There are a variety of sizes included in the kit, you just need to make sure all of the chips are covered that had thermal pads on the OEM cooler.
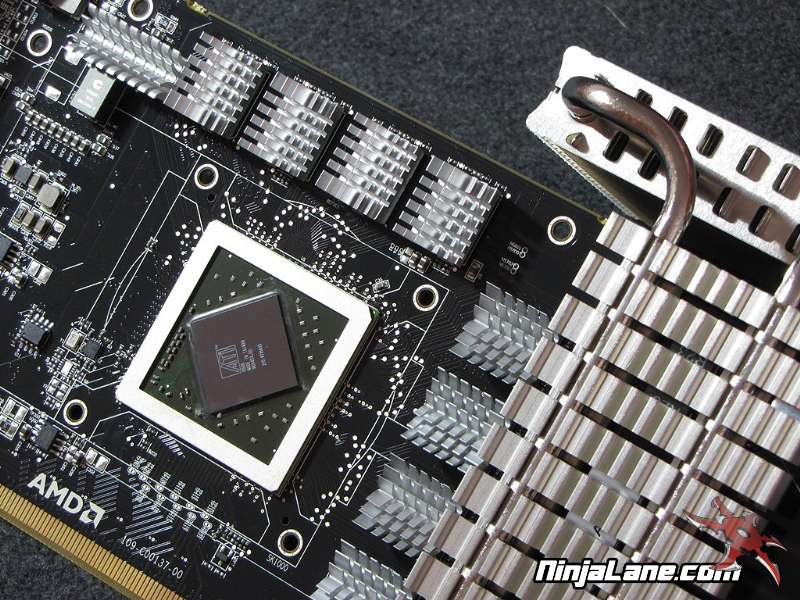
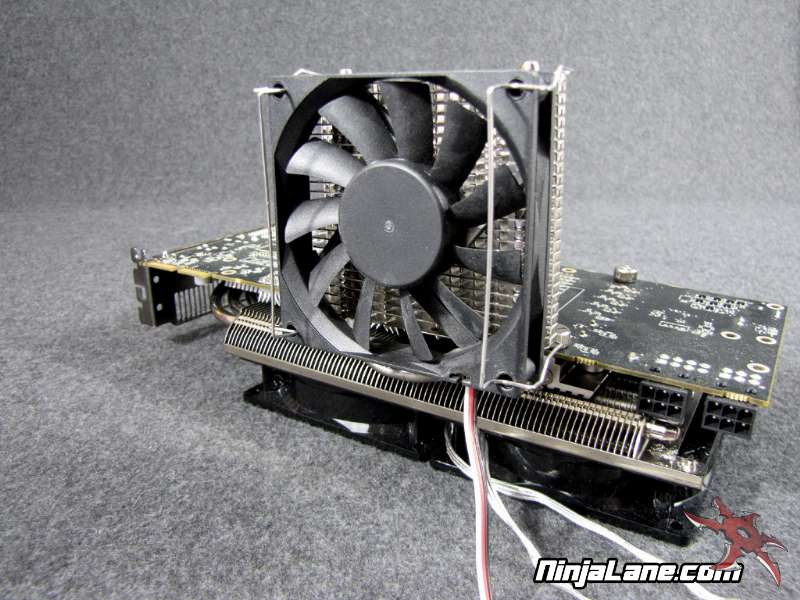
Next is installing the VRM R3 across the voltage regulators. This heatsink covers both the GPU and Memory voltage controls and is held in place with two screws. Make these screws are good and tight for the heatsink needs tight contact to keep this area cool.
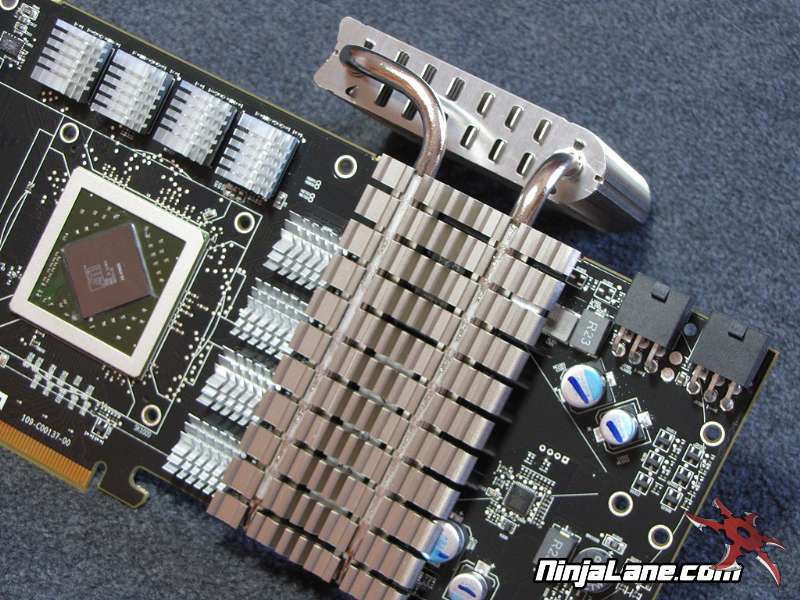
The final step is to install the T-Rad2 GTX heatsink. The installation is pretty easy. First thing is to apply some thermal grease to the GPU. Then prepare the heatsink with the threaded mounting pins that matches your particular card. The nylon spaces seen in the photo keep the heatsink in the proper postion so it doesn't short out on the board.
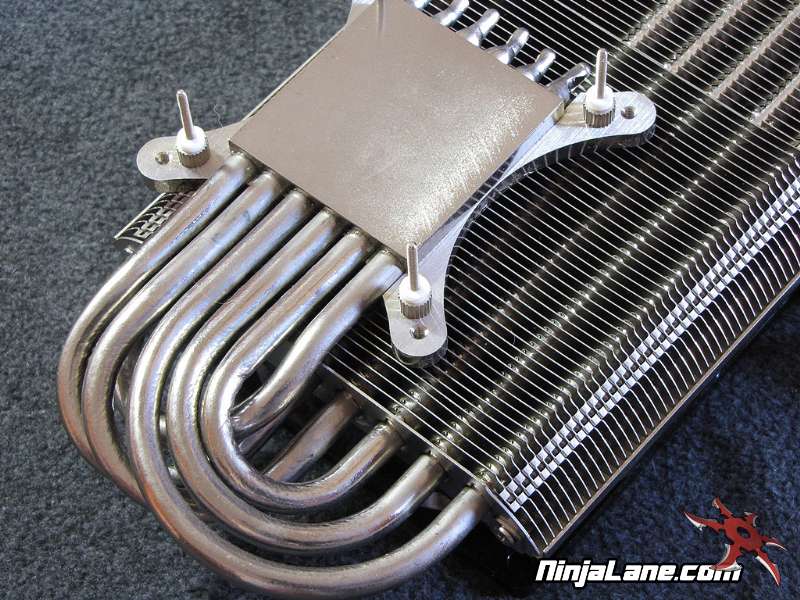
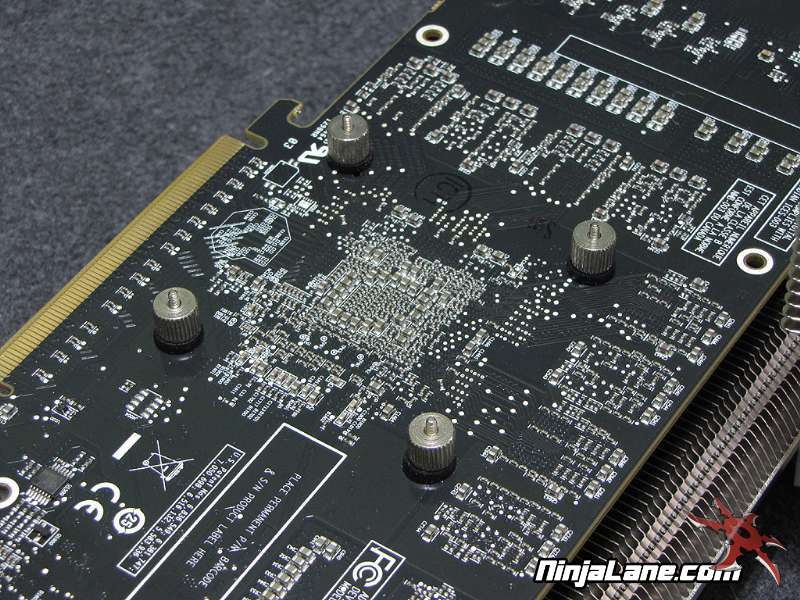
The T-Rad2 GTX heatsink is then mounted using the 4 mounting locations around the GPU socket and secured in place with 4 rubber grommets and thumbscrews. Be sure to tighten these in a X crossover pattern to ensure even mounting pressure.
Total time for this installation is roughly 15 minutes.
Total time for this installation is roughly 15 minutes.