After careful consideration I have decided to transfer all hardware review activities to a new domain. I purchased Hardwareasylum.com in 2012 and have been working hard to build a new and improved Ninjalane on that domain. If you are reading this you have reached one of the archived articles, news, projects and/or reviews that were left behind during the site migration.
Please update your bookmarks and be sure to visit the new and improved Ninjalane at Hardwareasylum.com
asetek WaterChill Review
Author: Dennis Garcia
Published: Saturday, November 08, 2003
Chipset Waterblocks
The chipset block is very compact and appears heavy for its size. The base has been machined flat similar to the CPU block and features a long divot down the middle. As you can see the waterblock has been designed around some of the more common chipset blocks on the market with a primary usage on VIA and nVidia chipsets. Even though this block can be used on Intel motherboards the mounting process isn't as easy, or safe by comparison. According to the documentation the approved method is to remove the white shim from your stock Northbridge heatsink and use it on the asetek waterblock, zip ties are supplied to secure waterblock into place. I seem to remember a how-to on the Internet describing this procedure a little over a year ago. At the time it was a cleaver hack but hardly a long-term solution.
Personally I would feel much better if the chipset shim was included with this kit along with something more mechanical to secure the waterblock into place. Don't get me wrong, zip ties work great for many things but holding down a copper waterblock just isn't one of them. There is a thread in the asetek forums that discusses alternative methods of mounting this cooler on Intel boards though attempt at your own risk.
Personally I would feel much better if the chipset shim was included with this kit along with something more mechanical to secure the waterblock into place. Don't get me wrong, zip ties work great for many things but holding down a copper waterblock just isn't one of them. There is a thread in the asetek forums that discusses alternative methods of mounting this cooler on Intel boards though attempt at your own risk.
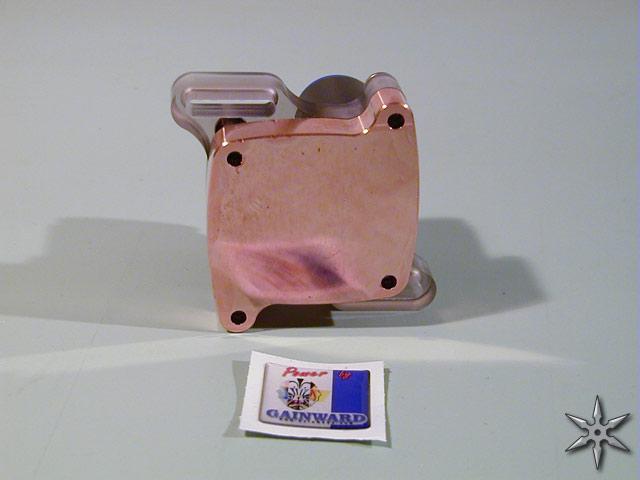
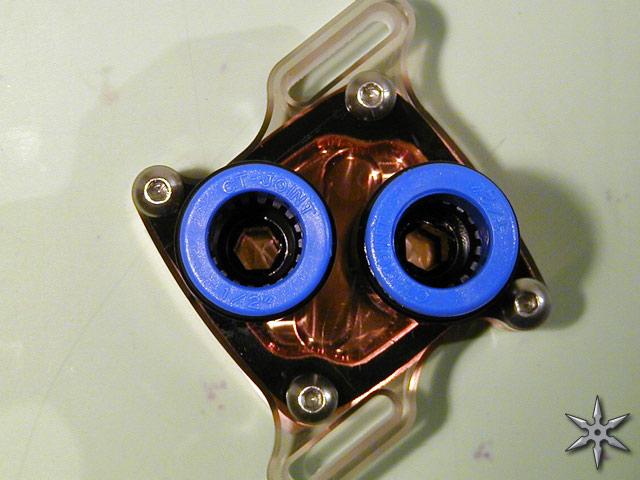
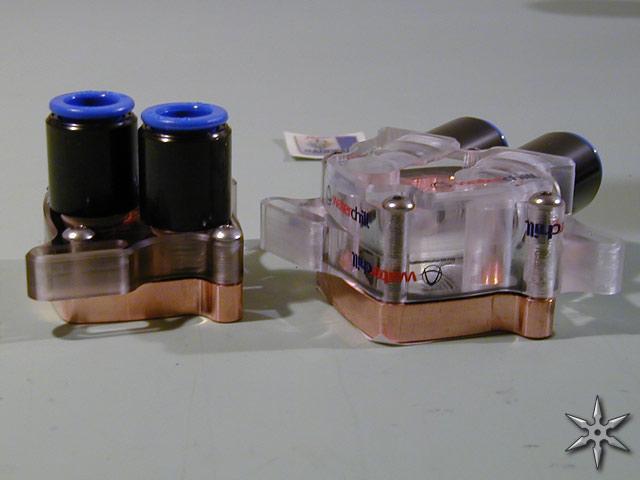
The GPU waterblock uses the same copper block as the chipset cooler with the differences being with the plastic cover. Physically the GPU block is quite a bit taller than the chipset block and slightly heavier.

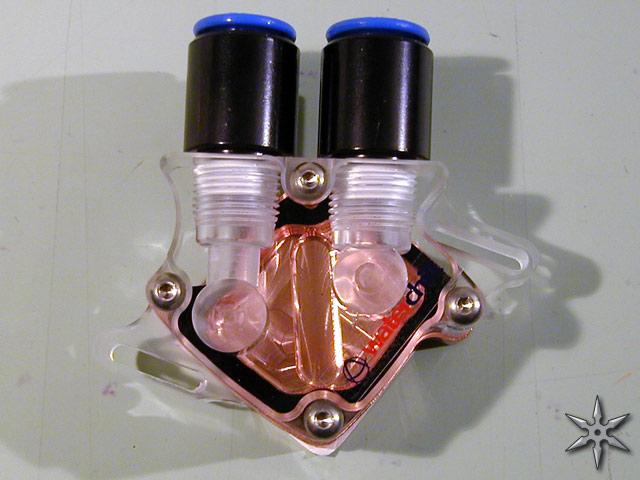
In the case of AMD, VIA, and nVidia chipsets these waterblocks mount directly to the PCB using the supplied posts and bolts. Pressure is applied with springs much like how the CPU block is attached. (more on that later).
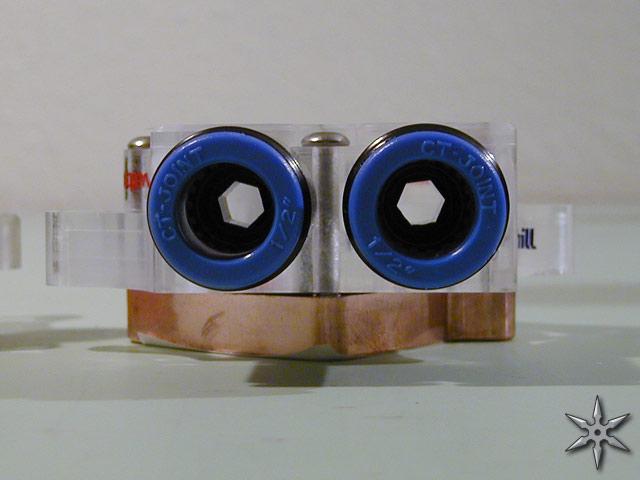
All of the fittings are a push and lock type designed for 1/2" O.D. hose. This type of installation provides a very tight and leak free connection that makes Installation a snap. An Allen key and a little Teflon tape is all that is needed to install the hose connections though due to the installation method you are left with a 6 sided hole at the end of the inlet. This hole is slightly smaller than the hose I.D. but isn't really a huge deal since the increased pressure also increases turbulence.