After careful consideration I have decided to transfer all hardware review activities to a new domain. I purchased Hardwareasylum.com in 2012 and have been working hard to build a new and improved Ninjalane on that domain. If you are reading this you have reached one of the archived articles, news, projects and/or reviews that were left behind during the site migration.
Please update your bookmarks and be sure to visit the new and improved Ninjalane at Hardwareasylum.com
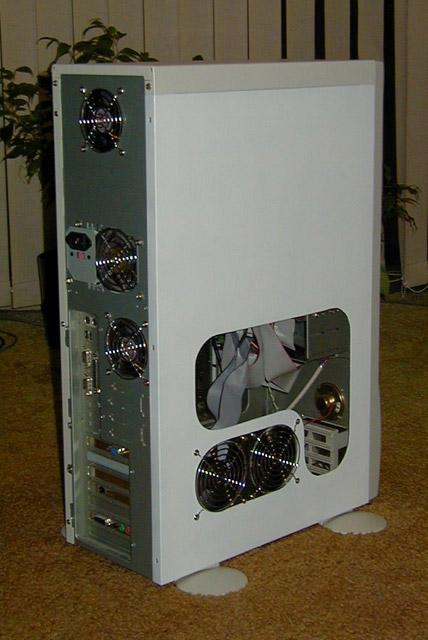
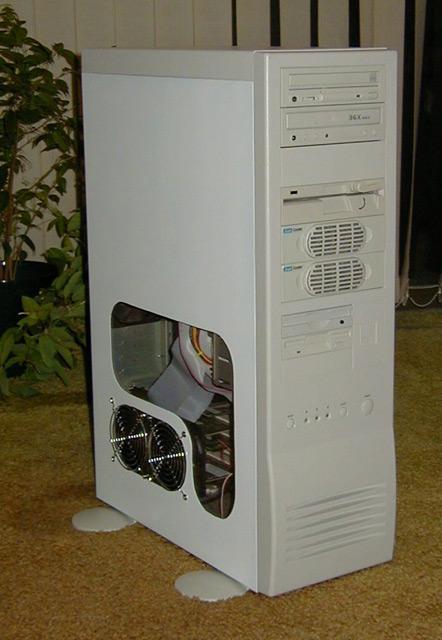
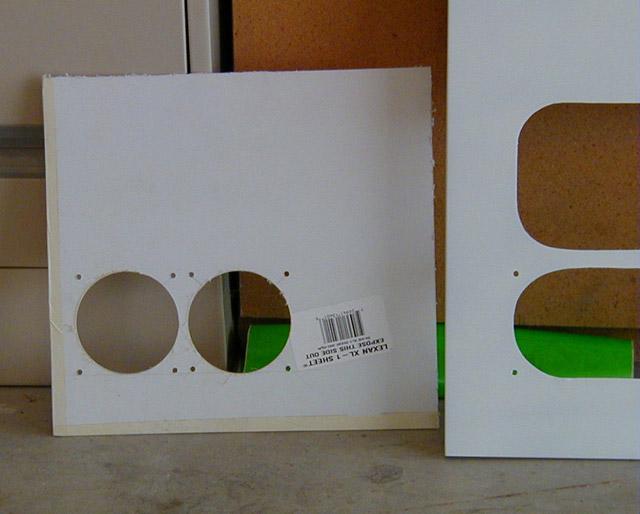
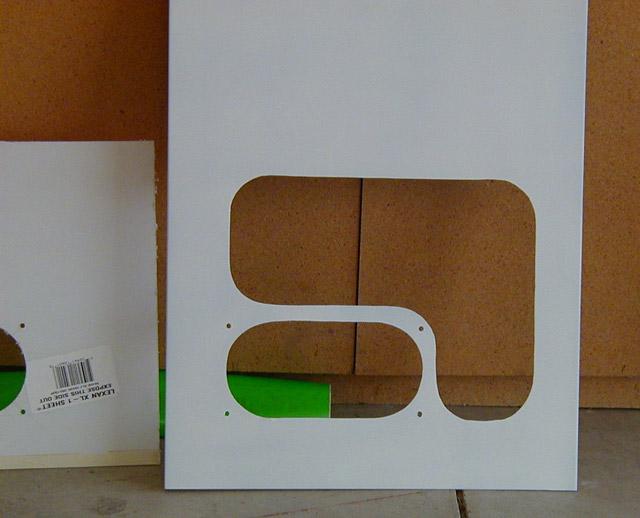
Lexan Window and Fan Install
Author: Dennis Garcia
Published: Tuesday, November 07, 2000
Conclusion and Assembly

To finish the project off I used some 100% silicon sealant and simply glued the Lexan to the side panel. If you use the
100% stuff it will remain flexible forever helping guard against vibration damage and also aiding in removal if needed.
The stuff is super sticky and sets up in about 20 min with a full cure time of 24 hours. I only glued the outer edges of the
Lexan this way if I need to I can use a razor blade and cut the sealant and remove the panel without to much trouble.
You will have to disregard mess you see through the window, the dual 450 setup is still installed. Once the new computer is ready these parts will be moving to another case. So, since that stuff will be going away I didn't feel compelled to tidy it up.
You will have to disregard mess you see through the window, the dual 450 setup is still installed. Once the new computer is ready these parts will be moving to another case. So, since that stuff will be going away I didn't feel compelled to tidy it up.