After careful consideration I have decided to transfer all hardware review activities to a new domain. I purchased Hardwareasylum.com in 2012 and have been working hard to build a new and improved Ninjalane on that domain. If you are reading this you have reached one of the archived articles, news, projects and/or reviews that were left behind during the site migration.
Please update your bookmarks and be sure to visit the new and improved Ninjalane at Hardwareasylum.com
Lexan Window and Fan Install
Author: Dennis Garcia
Published: Tuesday, November 07, 2000
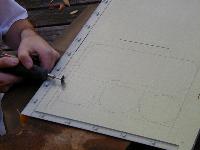
Window cutting
Back with the Dremel in hand and 6 reinforced cutting disks later the window was cut out. This part was very noisy and took
more than a few hours to complete. After the rough cutting was done there was a few hours of smoothing to make the corners nice
and round. The fan slots I roughed in with a jigsaw (was a quiet alternative but is not advisable) then finished off with the Dremel.
Lexan was the plastic glass of choice for this project, clamed to be 250 times stronger than glass and scratch resistant to boot.
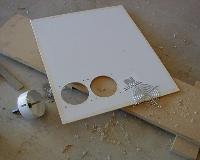
Lexan is very easy to work with and I would recommend it for any project. I used a 3.5" hole saw to make the circle cuts. In the picture you
will see that I masked off the edges with tape. This was a trial and error move on my part. Once I started cutting with the hole saw the
blade tends to grab and rip the protective coating off of the Lexan. The tape kept the coating in place during the entire process.
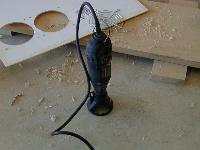
Time to start cutting with the Dremel again. I really like the fancy attachments you can get for the Dremel. The one pictured was designed
for cutting holes in drywall, the base kept the Dremel vertical similar to a router. I used a tungsten bit designed for cutting
stainless steel to slice the Lexan. In setting up the cut I built a simple guide out of particle board and clamped the Lexan to it.
The resulting cut was very smooth and quite straight.


