After careful consideration I have decided to transfer all hardware review activities to a new domain. I purchased Hardwareasylum.com in 2012 and have been working hard to build a new and improved Ninjalane on that domain. If you are reading this you have reached one of the archived articles, news, projects and/or reviews that were left behind during the site migration.
Please update your bookmarks and be sure to visit the new and improved Ninjalane at Hardwareasylum.com
Cooler Master Gladiator 600 Case Review
Author: William West
Published: Sunday, July 12, 2009
Case Layout & Features
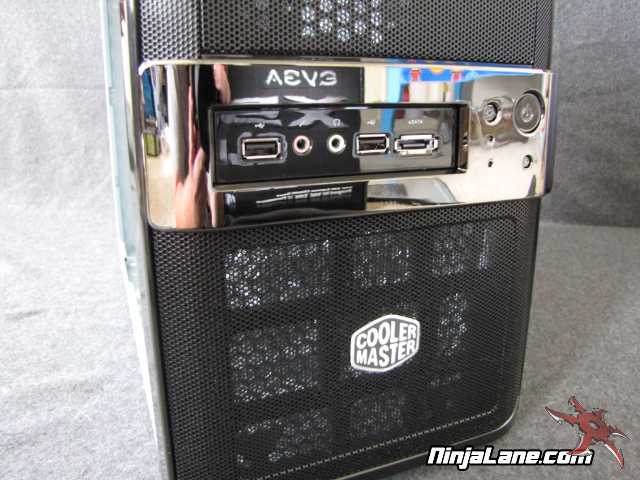
Starting at the most striking area for appearance on the CM Gladiator 600 is the Front I/O panel. Starting from the left to right we have the following connectors USB 2.0, Mic input, Audio output, USB 2.0, and an eSATA port. The panel is accented by a mirrored center piece that will get everyone's attention.
Power and reset buttons are right here as well.
Power and reset buttons are right here as well.
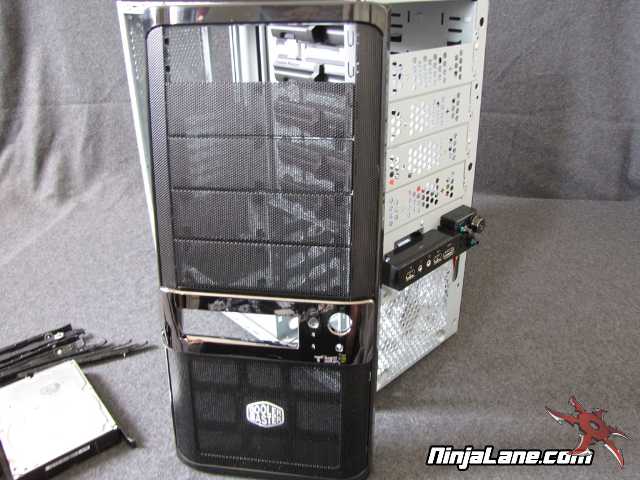
Removing the front panel allows you access to the metal frame and the ability to change out fans, clean filters, or even mod.
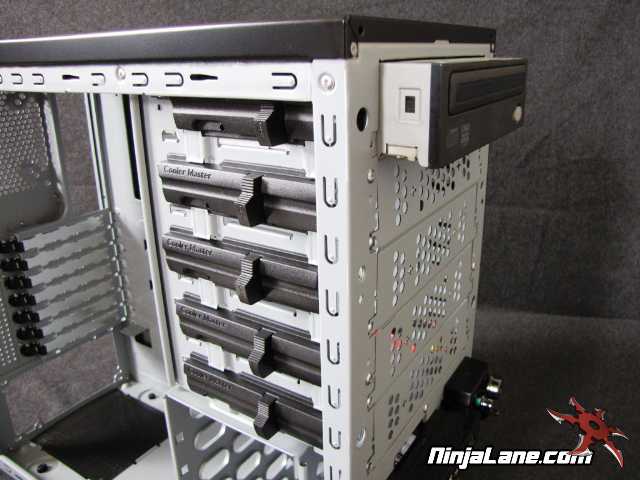
Cooler Master has come up with a new tool less optical drive slide rail that is just incredible. With an easy slide of the rail it can secure an optical drive, but these rails come with a double lock for a truly secure drive installation.
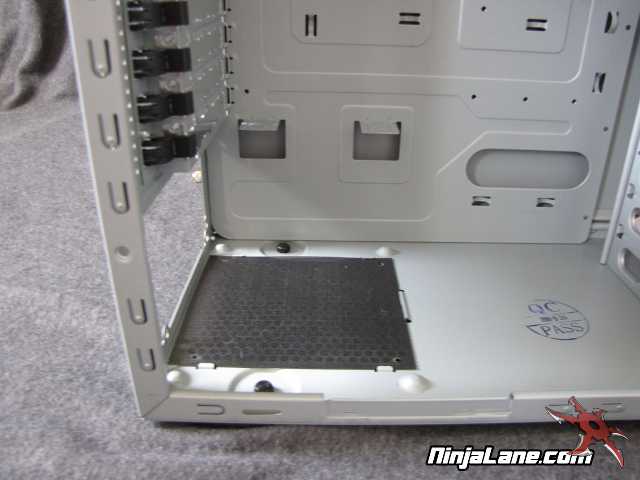
Bottom mounted PSUs, Cooler Master started it a while back and now everyone is doing it. With the way the bottom of the case is setup having a larger than normal PSU should not be an issue with the CM Gladiator 600 however routing the cables behind the motherboard could prove to be difficult but can still be done with a little effort. Also keep in mind that the CM Gladiator 600 is more for the value market so using a huge 1250 Watt PSU was not in the thinking of the case in the first place.
Here is a couple different way to mount your hard drives. The black mounting kit is for using in the 5.25" drive bay area. This is for mounting floppy drives, Card Readers, and the now popular SSD Hard Drives. The other system is a simple rails attached to the sides of a 3.5" drive.
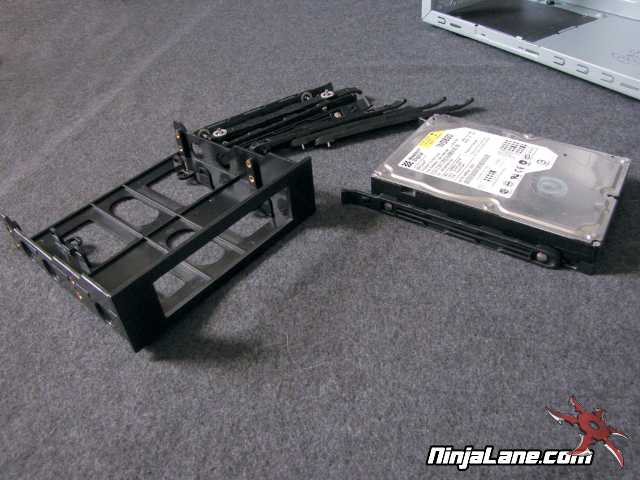

Drive installation is easy, in fact the hardest part is getting the drive rails attached. After that simply slide the drive into the drive cage until it snaps in place. This is a very simple system that works great.