After careful consideration I have decided to transfer all hardware review activities to a new domain. I purchased Hardwareasylum.com in 2012 and have been working hard to build a new and improved Ninjalane on that domain. If you are reading this you have reached one of the archived articles, news, projects and/or reviews that were left behind during the site migration.
Please update your bookmarks and be sure to visit the new and improved Ninjalane at Hardwareasylum.com
Building a HTPC
Author: Dennis Garcia
Published: Monday, December 27, 2010
Custom Power Cables
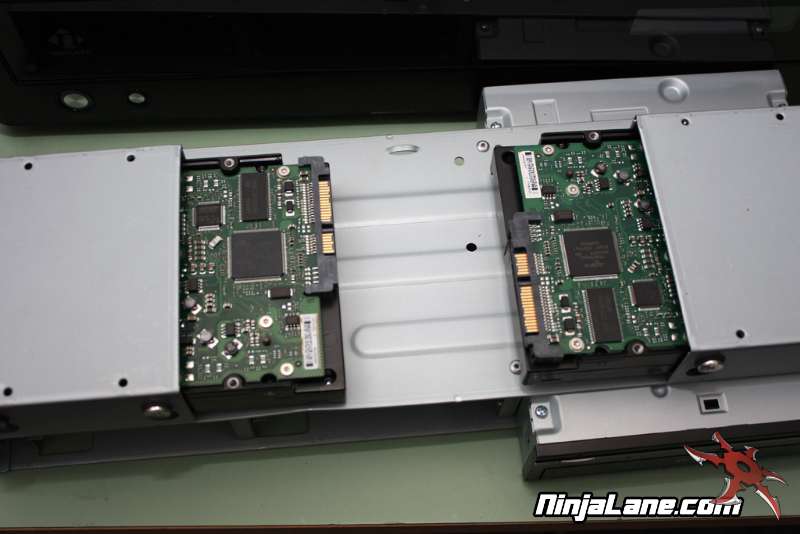
As some of you may know most PSU cables are designed for a ribbon style installation (drives stacked one on top of another) and they leave just enough room between the power connectors so handle the typical spans we see in most cases. What they are not designed to handle is tight spaces with minimal distance between the drives.
The nice thing about SATA power connectors is how easy they are to modify for just this type of situation.
Knowing that I only have a few inches between the drives the modular PSU it was decided to cut down the stock power cable and construct a custom length cable to fit the existing drive positions.
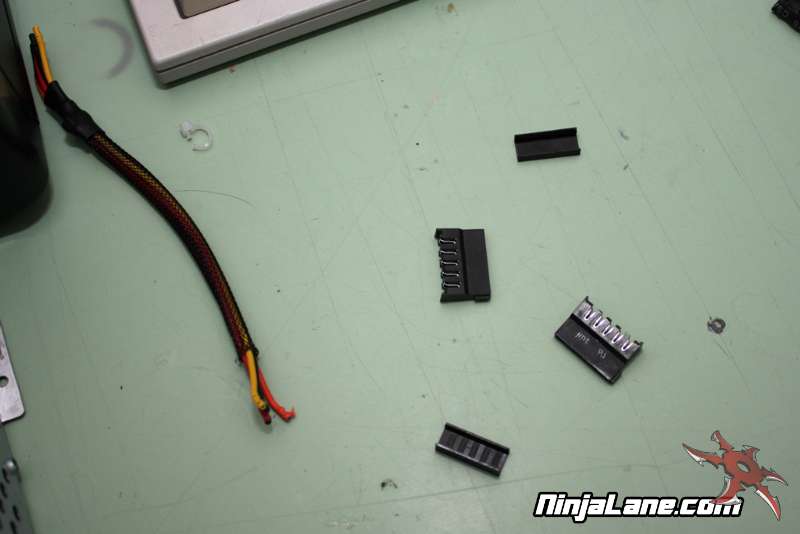
First we need to remove the SATA power connectors from the existing cable. A screwdriver and pliers work great for this, simply remove the cover and then remove each of the wires individually.
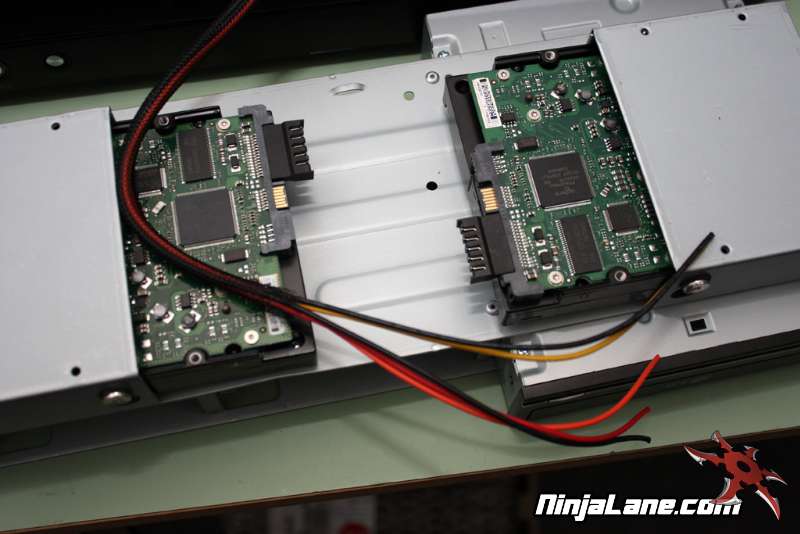
Next place the power ends on the drives so you know where the wires need to go and use a marker to indicate on the power wire where it should attach.
Next place the power ends on the drives so you know where the wires need to go and use a marker to indicate on the power wire where it should attach.
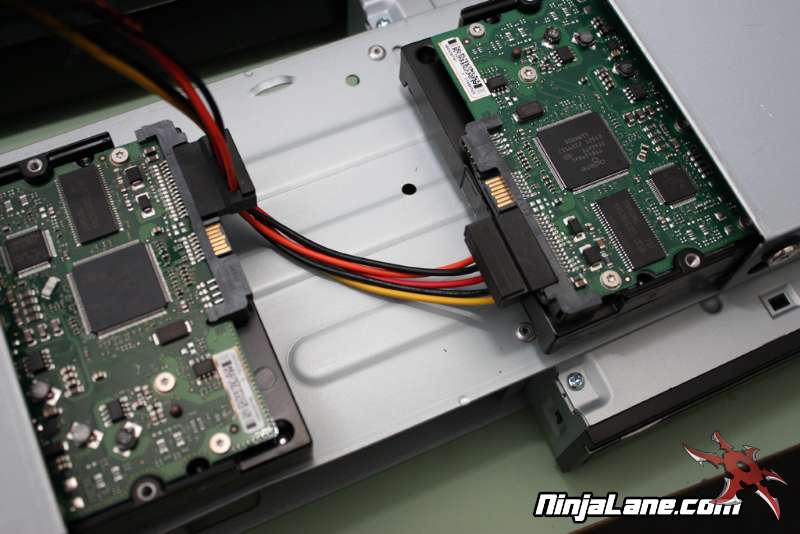
A standard flat screwdriver works for pushing the wires back into the connector and once you get them all attached replace the covers and admire your work. For this installation the wires needed to twist over themselves making this extremely compact bundle between the drives.
Adjusting SATA data cable lengths is a bit more involved so for now the standard length cable will have to do.
Adjusting SATA data cable lengths is a bit more involved so for now the standard length cable will have to do.