After careful consideration I have decided to transfer all hardware review activities to a new domain. I purchased Hardwareasylum.com in 2012 and have been working hard to build a new and improved Ninjalane on that domain. If you are reading this you have reached one of the archived articles, news, projects and/or reviews that were left behind during the site migration.
Please update your bookmarks and be sure to visit the new and improved Ninjalane at Hardwareasylum.com
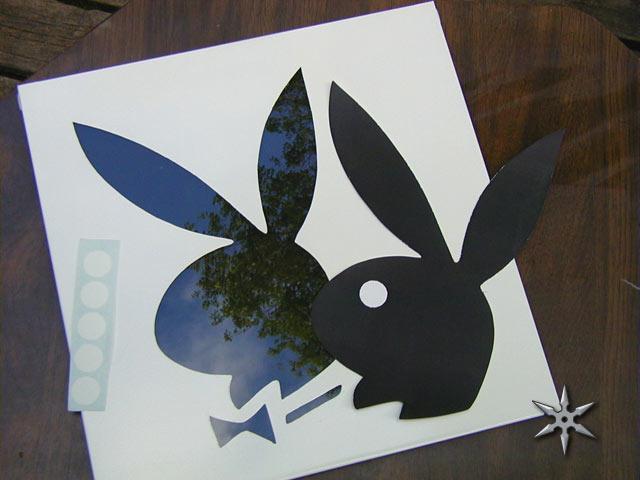
The playtime case mod
Author: Dennis Garcia
Published: Sunday, June 10, 2001
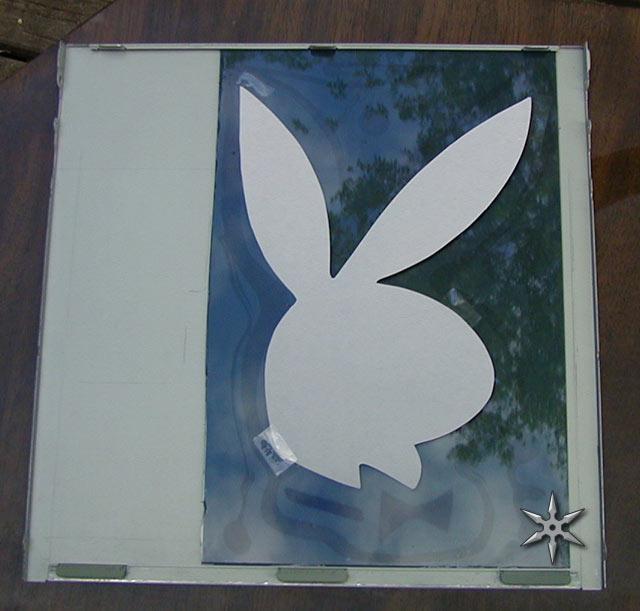
Attach Window
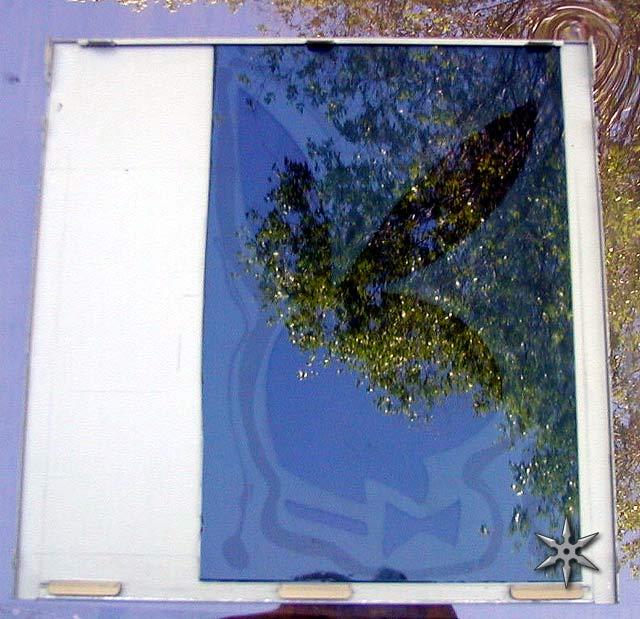

It takes about 2 hours for the silicon to set up and another day for it to completely cure, after that it is attached forever.