After careful consideration I have decided to transfer all hardware review activities to a new domain. I purchased Hardwareasylum.com in 2012 and have been working hard to build a new and improved Ninjalane on that domain. If you are reading this you have reached one of the archived articles, news, projects and/or reviews that were left behind during the site migration.
Please update your bookmarks and be sure to visit the new and improved Ninjalane at Hardwareasylum.com
CoolerMaster CM690 Case Review
Author: Dennis Garcia
Published: Monday, September 24, 2007
Construction and modifications
For any modding project it is a MUST that you start with a well build case that uses quality materials. For starters we mean cases made from SECC steel. There is a quick visual test you can do when case hunting to know if you are getting a quality case and that would be the color of the metal. SECC cases all come with a flat grey coating that protects the metal and gives it a distinct look. Cases made from thinner "pot" metal all have a shiny surface. So why insist on SECC?? Well there are several reasons, from a modding standpoint the thicker material will hold up better during the modification process and allow for more drastic modifications. There is also the issue of noise and resonance. Tap on a "pot" metal case and note the tinny and annoying sound. Match that with several vibrating fans and you have the primary reason so may fan companies are making a killing on rubber fan mounts. Do the same to a SECC case and you'll still get a resonance but not nearly as bad.
Of course the CM690 features SECC metal throughout else we wouldn't even consider reviewing it.
Of course the CM690 features SECC metal throughout else we wouldn't even consider reviewing it.
After the metal selection it's a good idea to look around the case and see how it is constructed. Keep in mind that these cases are typically manufactured by machines so there will be seams, lots of bends and in some cases a bunch of rivets. All of the edges that have easy access to human skin have been rolled to reduce cuts and excess blood, this rolling process also helps to strengthen the case and prevents flexing.

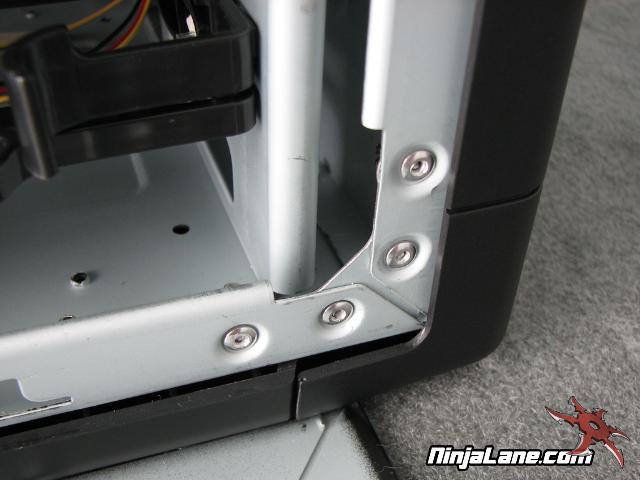
The corners appear to be reinforced with angle brackets and rivets. This is something new to us as most cases we have dealt with feature a spot weld in this location.
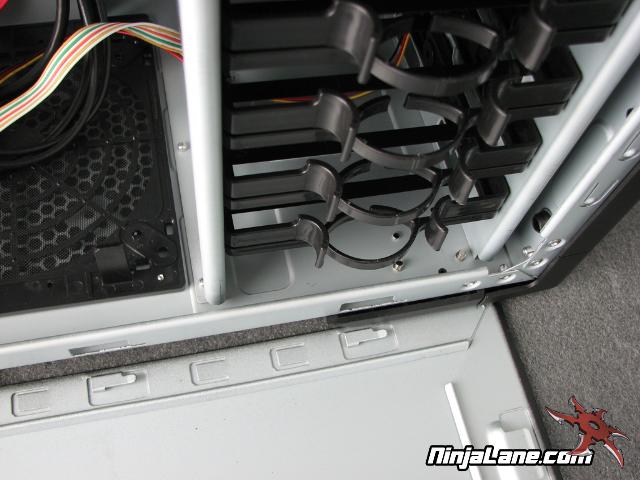
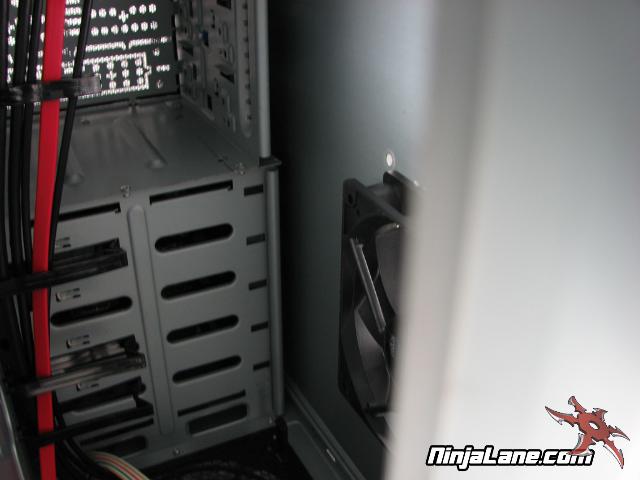
A window is one of the most popular mods that people do, and while some actually come with windows from the factory we feel it is always better to install one yourself. The first thing you'll need to do is see if you have enough room which brings us to the next set of photos. Aside from the non-existant space between the HDD cage and the edge of the case there is virtually no obstructions in the CM690 to inhibit a window design. It might even be a good idea to "window" away the door mounted fans as we have found them to cause more airflow disruptions when paired with front and top mounted fan options.
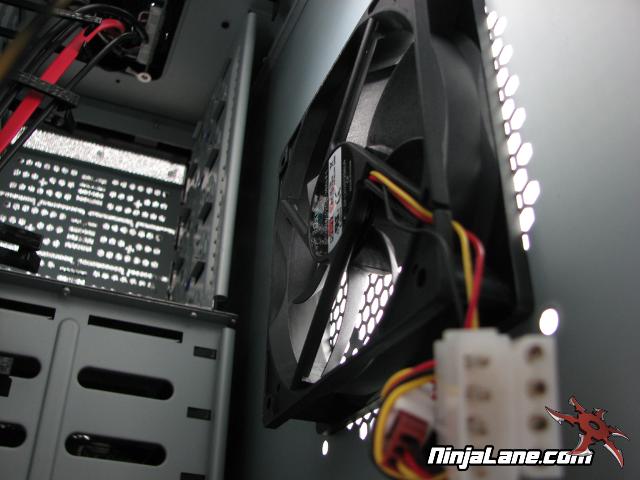
In terms of cooling the CM690 really has no reportable issues, there are plenty of options and if you choose not to use any the natural convention will actually vent the case quite well. So what would be the next steps??
Well watercooling of course.
Well watercooling of course.
The CoolerMaster CM690 is ripe with watercooling options. The hardest part with any watecooling installation is where to put the radiator. Given the amount of 120mm fan holes in this case any number of them could house an equal size radiator with no modifications at all. But that would be too easy. In our modding suggestion we'll be using a dual 120mm fan radiator that actually will bolt into place using the top mounted fan holes. The fans will need to be placed outside of the case between the Black mesh and the top of the case. Standard 120mmx25mm fans should fit there with only a slight modification to the plastic.
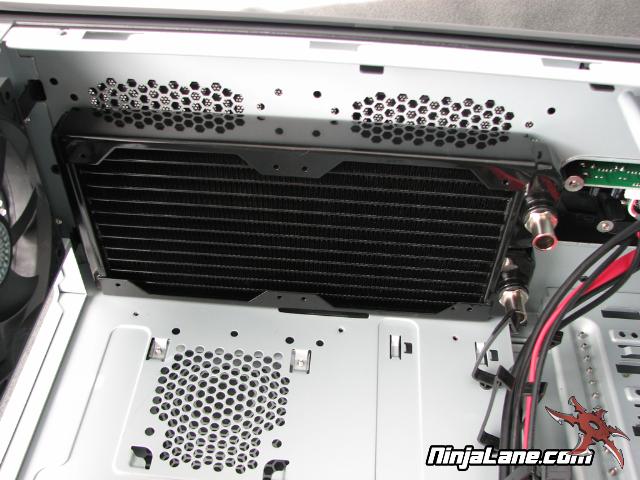
The location of the pump and reservoir pose a different challenge. One option would be to use a bayres and place the pump at the bottom of the case next to the PSU. Another option would be to remove the HDD cage and place the gear there. Heck if you wanted to be radiator happy another 120mm radiator can be mounted on the front fan with the pump and reservoir located right behind.
There is of course passive options that cool without an active fan on the radiator. The only requirement for these setups is positive case pressure.
There is of course passive options that cool without an active fan on the radiator. The only requirement for these setups is positive case pressure.