After careful consideration I have decided to transfer all hardware review activities to a new domain. I purchased Hardwareasylum.com in 2012 and have been working hard to build a new and improved Ninjalane on that domain. If you are reading this you have reached one of the archived articles, news, projects and/or reviews that were left behind during the site migration.
Please update your bookmarks and be sure to visit the new and improved Ninjalane at Hardwareasylum.com
Cooler Master V6 GT Heatsink Review
Author: Dennis Garcia
Published: Tuesday, June 29, 2010
Installation
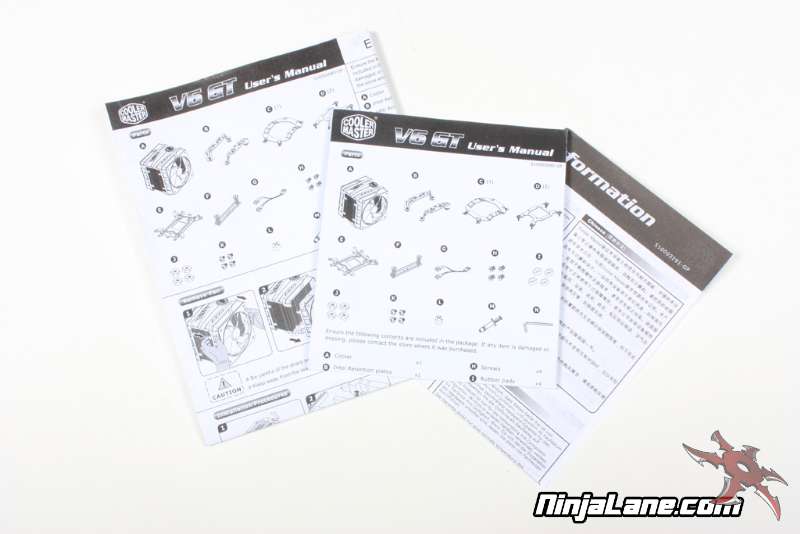
Installing the Cooler Master V6 GT is rather simple, however still requires that hardware be installed on the motherboard before the heatsink can be installed. Below is what comes included with the V6 GT.
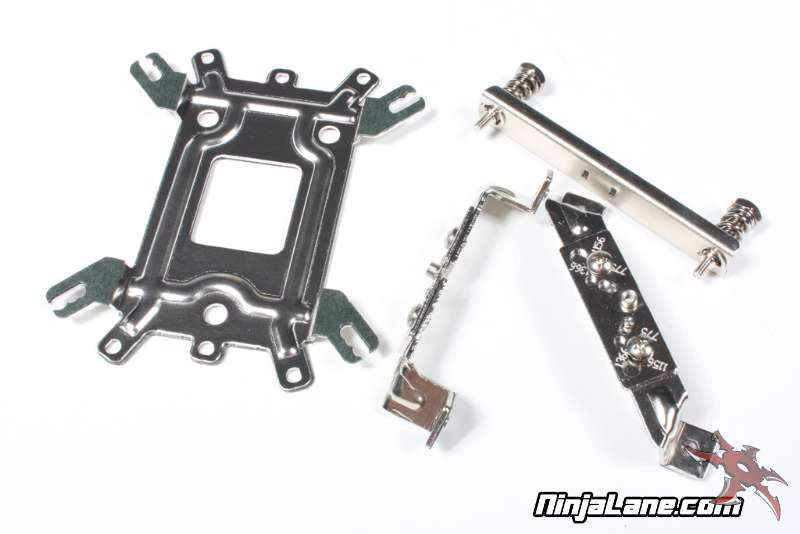
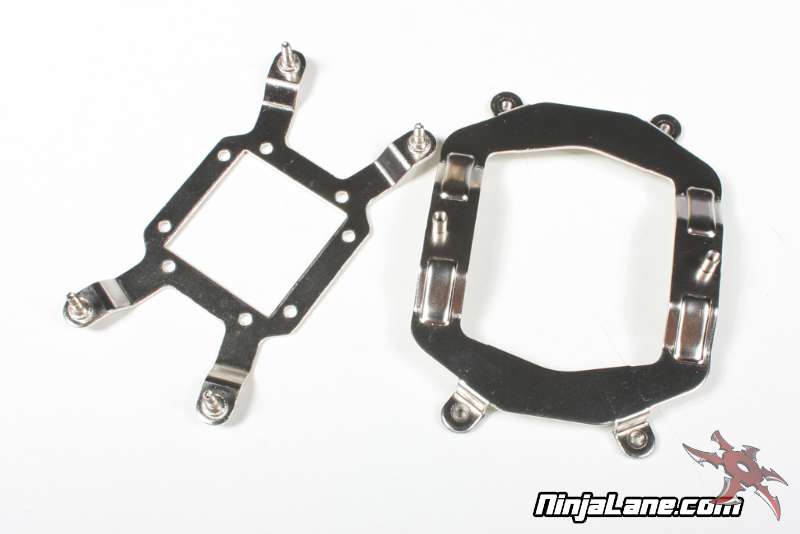

You start by selecting the proper hardware. The V6 GT comes with mounting hardware for all modern processor systems including 775/1156/1366/ AM2 and AM3. Since we are testing on the Core i7 we needed to adjust the riser bars and secure them to the back plate using the included screws.

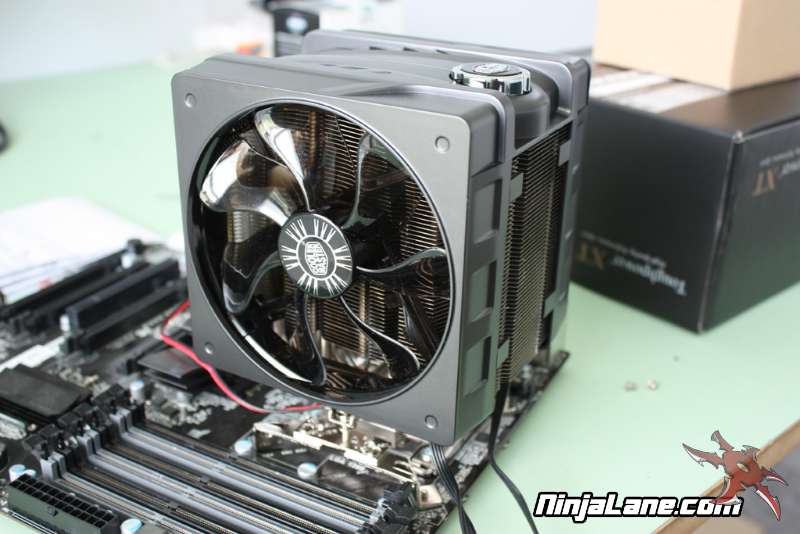
Next apply some thermal paste and install the heatsink. The V6 GT is secured with a single bar that centers over two posts in the middle of the heatsink. This bar then screws down to the riser bars to provide even pressure from the center of the heatsink out.
While this system does allow easy removal without having to remove the motherboard it is still based on 2 points of contact and a very small contact patch at the center of the heatsink. While this tends to be all that is required we much prefer a more solid 4 corner mounting method as Intel had intended.
While this system does allow easy removal without having to remove the motherboard it is still based on 2 points of contact and a very small contact patch at the center of the heatsink. While this tends to be all that is required we much prefer a more solid 4 corner mounting method as Intel had intended.