After careful consideration I have decided to transfer all hardware review activities to a new domain. I purchased Hardwareasylum.com in 2012 and have been working hard to build a new and improved Ninjalane on that domain. If you are reading this you have reached one of the archived articles, news, projects and/or reviews that were left behind during the site migration.
Please update your bookmarks and be sure to visit the new and improved Ninjalane at Hardwareasylum.com
Coolink Corator DS Heatsink Review
Author: Dennis Garcia
Published: Friday, July 23, 2010
Installation
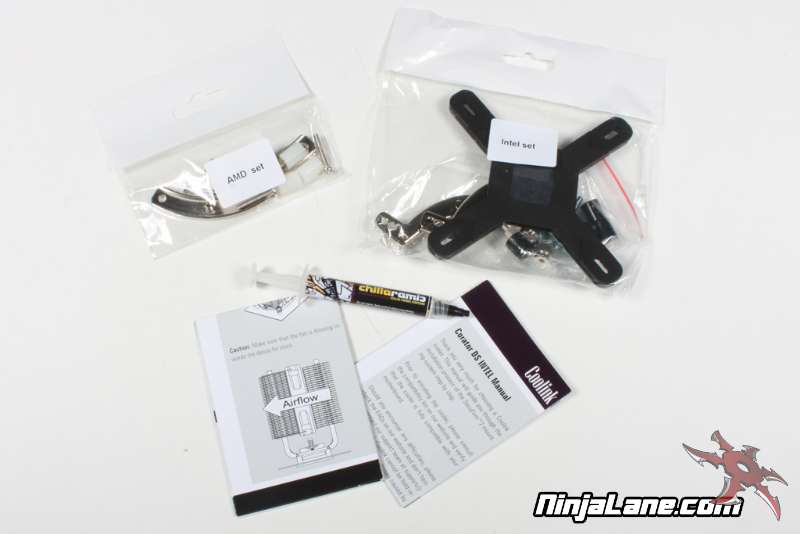
Installing the Coolink Corator DS is pretty straight forward and not unlike the method found on the Noctua NH-D14. The accessory box comes with everything you will need including the reinforced back plate, fan tail accessories, thermal paste, and mounting plates for both A64 and Intel processors.
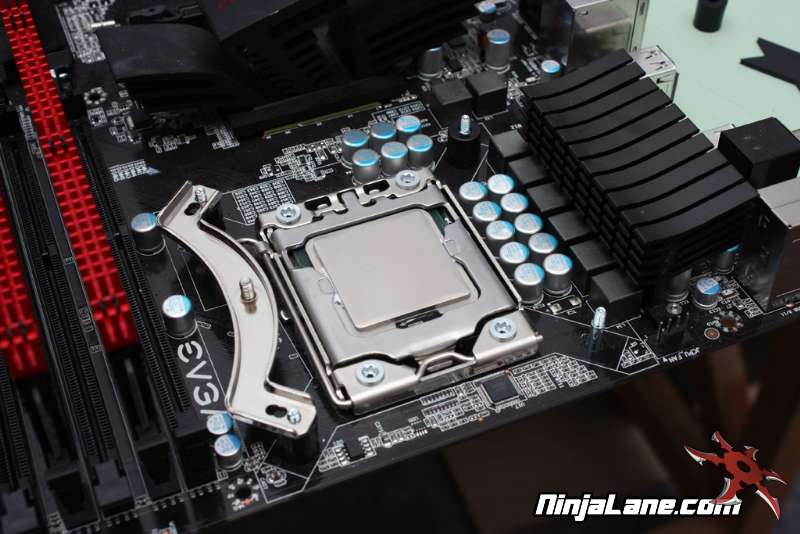
You start by installing the back plate and placing the included spacers over the exposed threaded posts. Next you secure the mounting plates to those posts using the included screw caps.
You start by installing the back plate and placing the included spacers over the exposed threaded posts. Next you secure the mounting plates to those posts using the included screw caps.
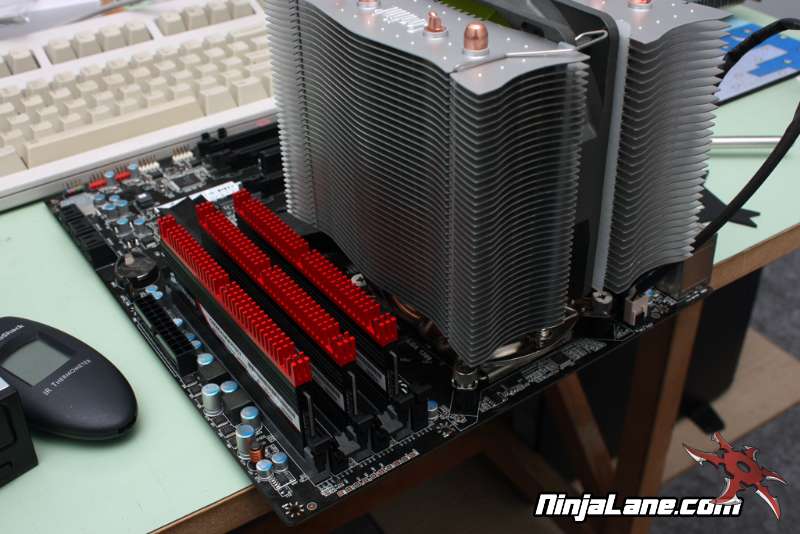
Installing the heatsink can be a little tricky, and due to the overall size will require a few trial fits to get correct. We choose the vertical placement since the horizontal position was in conflict with our Dominator GT memory.
To secure the heatsink you must first remove the center 120mm fan which will expose the mounting screws underneath.
Reverse the process when you are done.
To secure the heatsink you must first remove the center 120mm fan which will expose the mounting screws underneath.
Reverse the process when you are done.
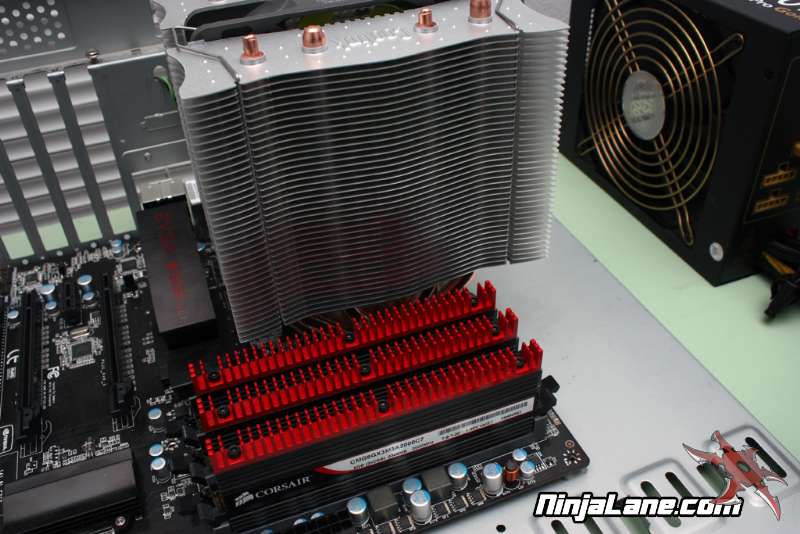
Much like the NH-D14, the Corator DS is rather large and will extend beyond the top of the motherboard. If your motherboard and memory allows it, you can gain some additional space by rotating the heatsink 90 degrees from how it is pictured.
Your situations can, and will likely, vary so do your research beforehand.
Your situations can, and will likely, vary so do your research beforehand.