After careful consideration I have decided to transfer all hardware review activities to a new domain. I purchased Hardwareasylum.com in 2012 and have been working hard to build a new and improved Ninjalane on that domain. If you are reading this you have reached one of the archived articles, news, projects and/or reviews that were left behind during the site migration.
Please update your bookmarks and be sure to visit the new and improved Ninjalane at Hardwareasylum.com
Thermaltake Frio Heatsink Review
Author: Dennis Garcia
Published: Wednesday, May 05, 2010
Installation
Installing the Frio is pretty straight forward. The accessory box comes with everything you need including 2 reinforced back plates, universal mounting hardware for AMD and Intel processors, thermal paste and various other connectors and screws.
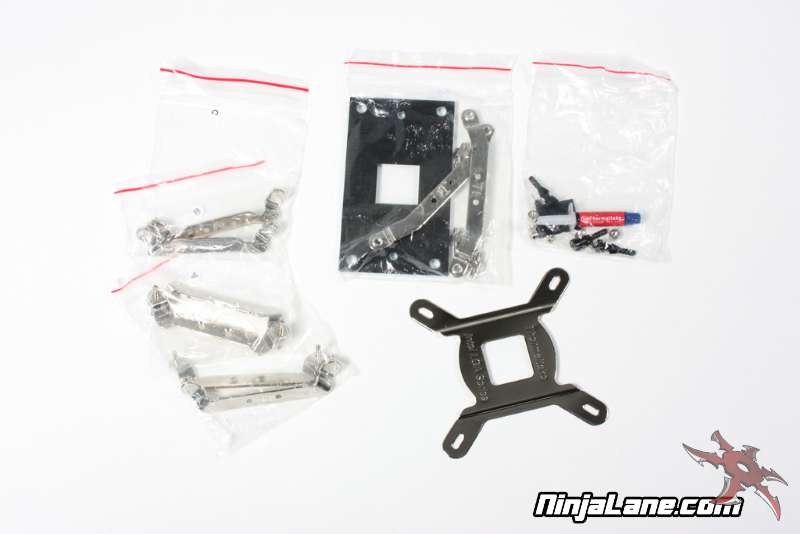
The mounting screws are attached to the retention clips, so you will need to find the set that matches your motherboard and install them using the 4 included screws.
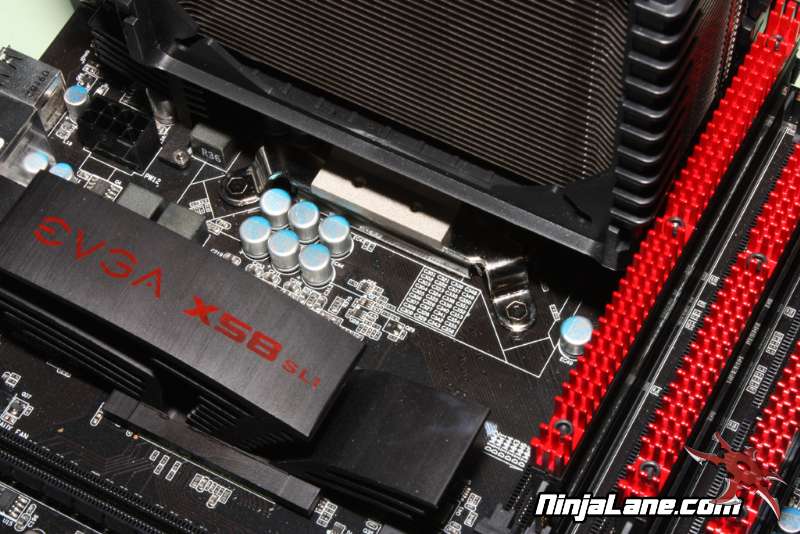
Next apply some thermal paste to your processor and install the heatsink.
Then flip the motherboard over (holding the heatsink in place) and place the back plate over the mounting screws.
Next apply some thermal paste to your processor and install the heatsink.
Then flip the motherboard over (holding the heatsink in place) and place the back plate over the mounting screws.
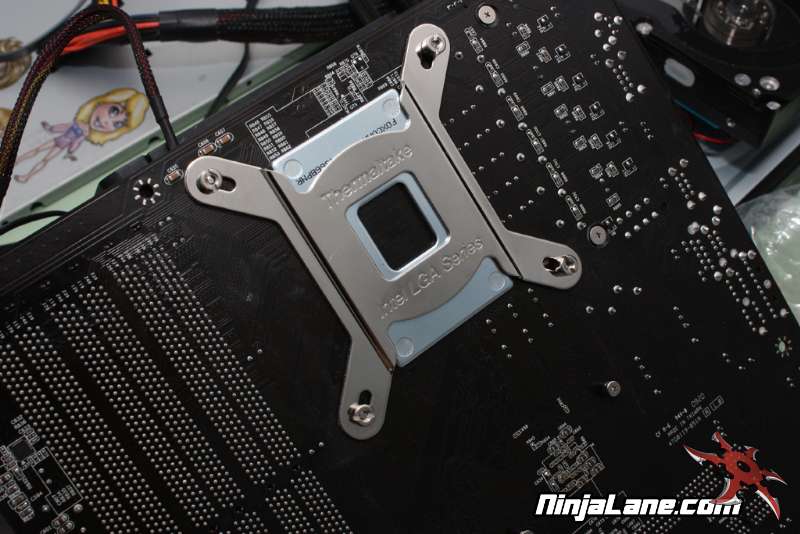
Using the included nuts, screw them into place using a flat screwdriver. Screw them down until they are snug.
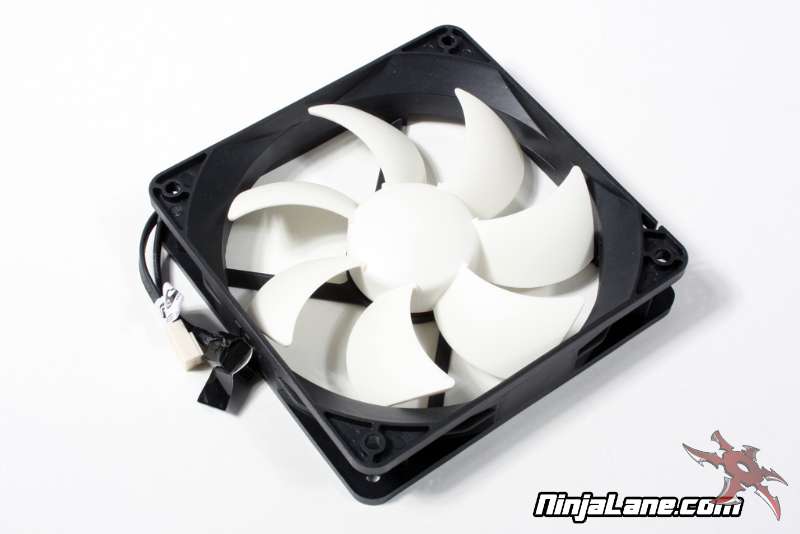
Plug in your fan headers and away you go.
Plug in your fan headers and away you go.