After careful consideration I have decided to transfer all hardware review activities to a new domain. I purchased Hardwareasylum.com in 2012 and have been working hard to build a new and improved Ninjalane on that domain. If you are reading this you have reached one of the archived articles, news, projects and/or reviews that were left behind during the site migration.
Please update your bookmarks and be sure to visit the new and improved Ninjalane at Hardwareasylum.com
Lamptron Case Handle (CH2) Review
Author: Dennis Garcia
Published: Monday, June 23, 2008
Let's begin - It's drilling time
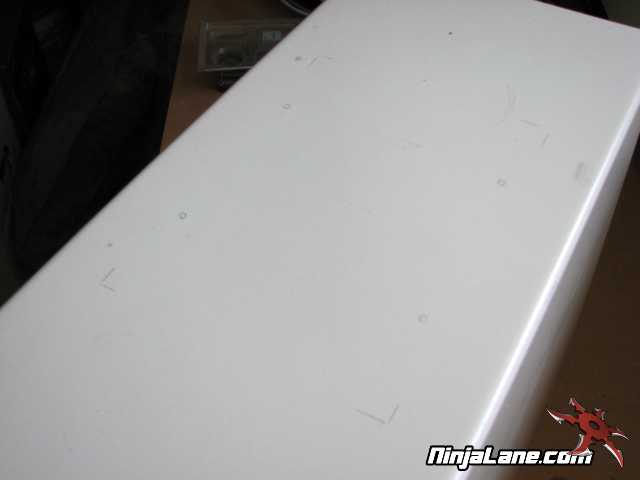
First we need to identify where the handles will be placed, with this particular case (as most MidTower ATX chassis we have an open area between the topmost 5.25” bay and the PSU. We’ve placed our handles in the middle of this opening to allow clearance.
Lamptron includes a printable template to aid you during this installation process but any true modder will simply mark things as you go. We’re using an every day #2 pencil to mark the outer corners and drill points.
If you make a mistake simply erase the line and start over.
Lamptron includes a printable template to aid you during this installation process but any true modder will simply mark things as you go. We’re using an every day #2 pencil to mark the outer corners and drill points.
If you make a mistake simply erase the line and start over.
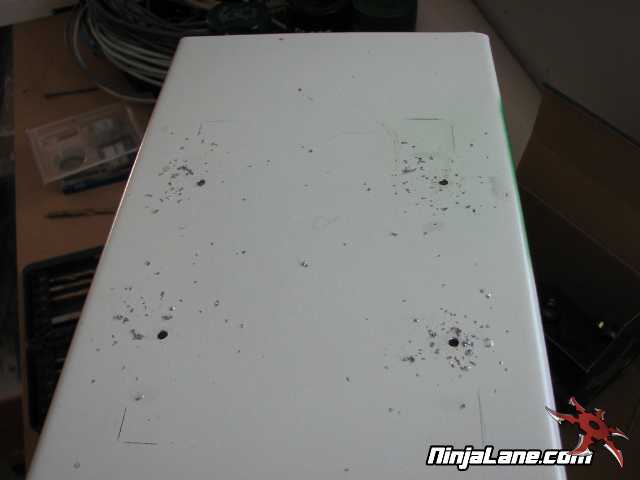
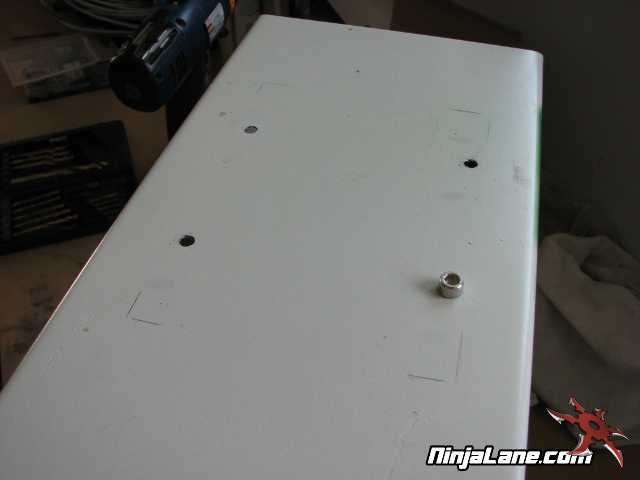
After the holes have been marked we drilled a small pilot hole in each of the 4 locations. After that we took a 1/4” drill bit and enlarge the opening. You can confirm the proper sizing by using one of the included mounting bolts.
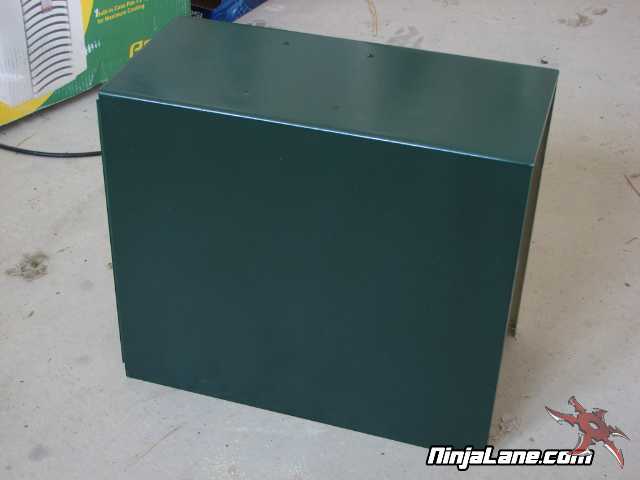
The next step is optional but really who is going to mod a case and not apply a fresh coat of paint? Here we used a gloss green and later dusted the entire surface with a darker green metallic.