After careful consideration I have decided to transfer all hardware review activities to a new domain. I purchased Hardwareasylum.com in 2012 and have been working hard to build a new and improved Ninjalane on that domain. If you are reading this you have reached one of the archived articles, news, projects and/or reviews that were left behind during the site migration.
Please update your bookmarks and be sure to visit the new and improved Ninjalane at Hardwareasylum.com
CoolerMaster 690 II Advanced vs. CoolerMaster 690
Author: Jim Manis
Published: Thursday, March 11, 2010
Case Layout and Features
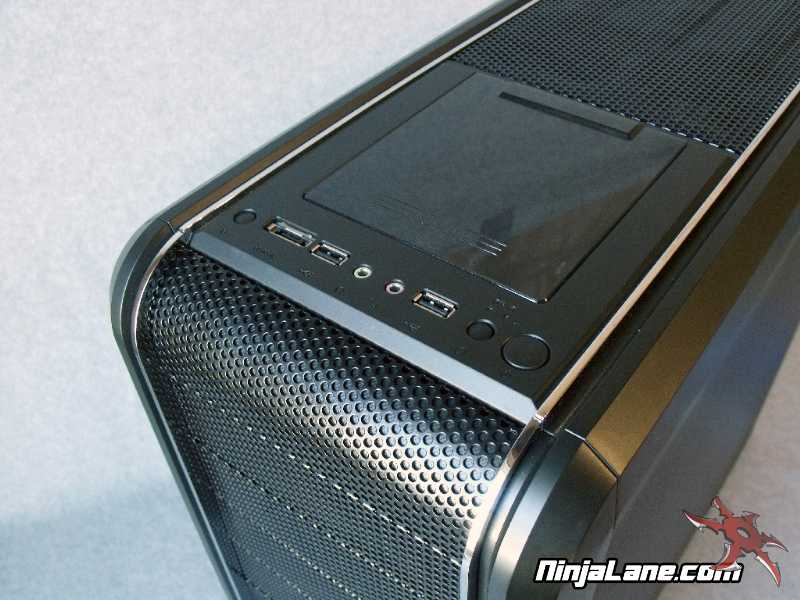
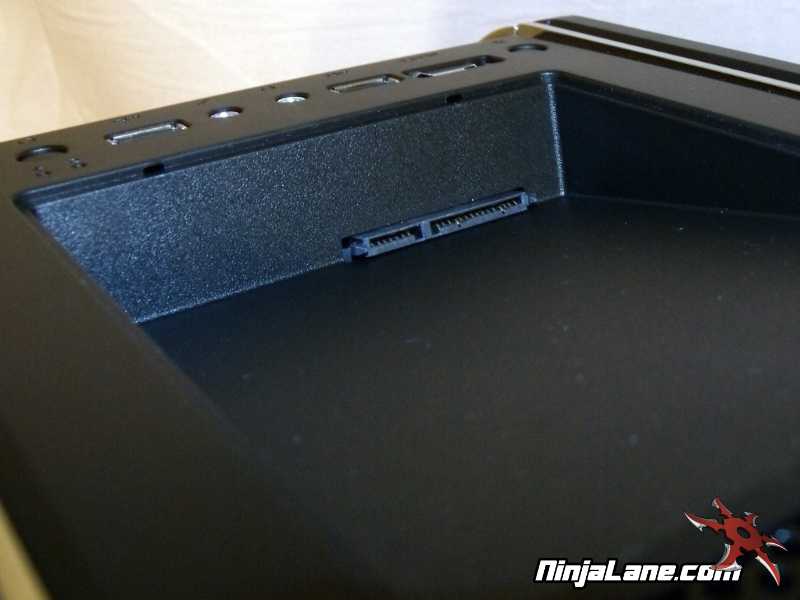
One of the first things you will notice is the relocation of the power and reset buttons from the side of the case to the very top. Behind these buttons you will notice a smooth plastic panel which covers the handy new X-Dock
The 690II Advanced moves and consolidates the power and reset buttons along with the two USB ports and the headphone and mic along with an E-SATA and a light control switch. Also present are the power and HDD activity lights. These lights are vey compact and will not distract at all.
Overall the redesign is great however we would have preferred something other than a sliding door to cover the X-Dock that could easily get lost or broken.
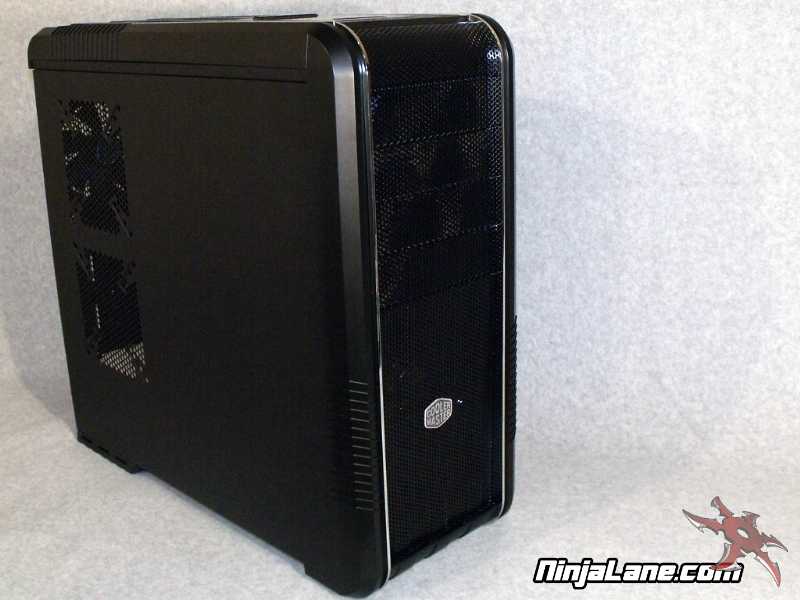
The exterior is covered in a textured black matte finish and is accented by a liberal usage of a black gloss mesh chromed accent strips, similar in style to the original 690. The style of the case is attractive, yet extremely conservative and clean so to attract a wider audience.
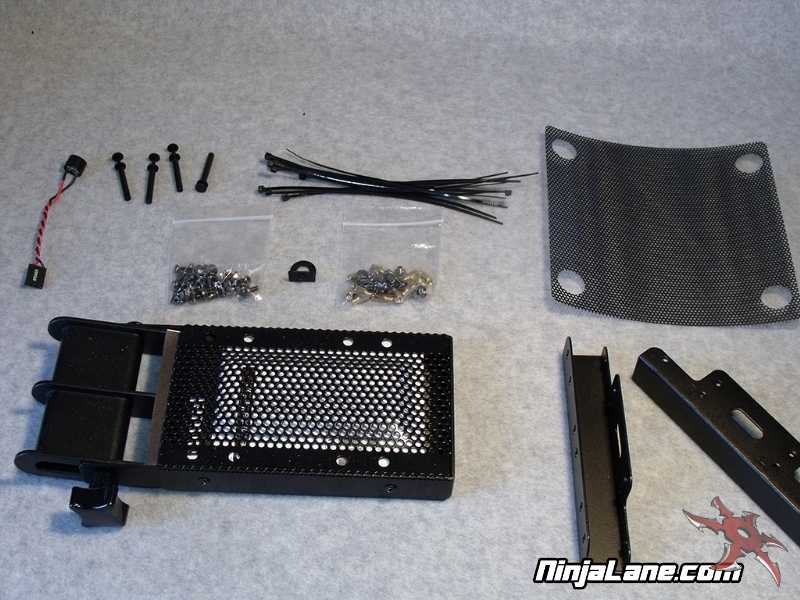
Below are the accessories that come with the CM690II Advanced. The unusual looking component that turns out to be a VGA support bracket which can support triple card arrangements and can house an optional fan for better airflow. Additionally you will find a single fan screen and around a dozen black zip-ties to help with cable management. The customary screws and standoffs are of course included as well as a system speaker and four tool free fan mounts.
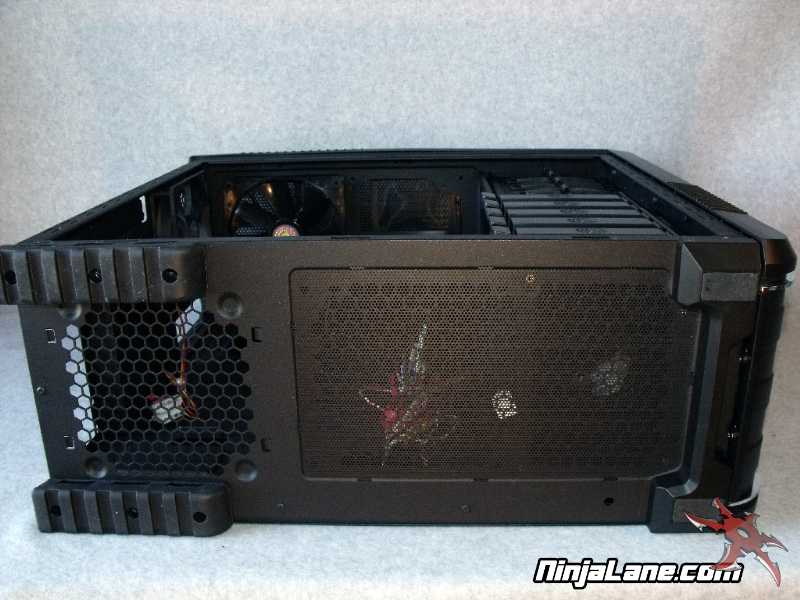
The cases bottom features a smooth screen to help minimize the intrusion of dust, hair etc. The PSU is located at the bottom of the case and is currently configured to draw cool air in from the bottom and exhaust out the back.
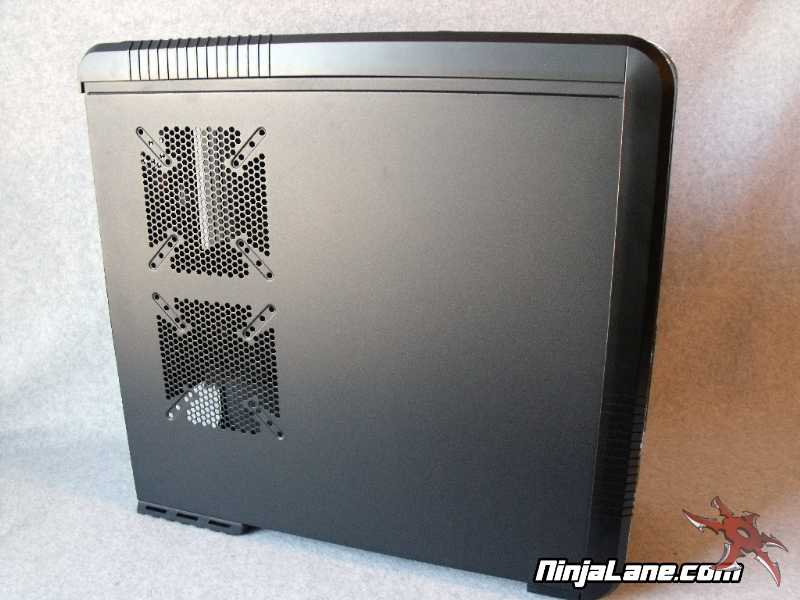
The screened area represents the secondary radiator mounting location.
The screened area represents the secondary radiator mounting location.