After careful consideration I have decided to transfer all hardware review activities to a new domain. I purchased Hardwareasylum.com in 2012 and have been working hard to build a new and improved Ninjalane on that domain. If you are reading this you have reached one of the archived articles, news, projects and/or reviews that were left behind during the site migration.
Please update your bookmarks and be sure to visit the new and improved Ninjalane at Hardwareasylum.com
Stealth Mod Project
Author: Dennis Garcia
Published: Wednesday, January 24, 2001
Disassembly and Layout
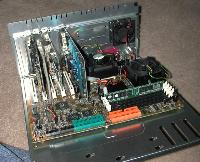
For this mod we choose to place two 92mm Sumon fans in the side panel, One 80mm Sumon fan up front, One 80mm
Sumon fan at the top of the case, and One 60mm High-Speed Sumon fan directly behind the processors. This
photo shows the motherboard tray with the 60mm Sumon installed. One thing I did like about this case was
how they treated the 60mm fan grill. The holes are nice and large so no cutting was really needed.
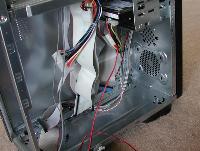
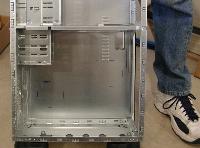
The 80mm spot up front however was not treated in the same manor. As with most cases this is the most common place to
put extra fans. So common in fact some cases come with fans already installed.
The cage has been removed to show you how restrictive this area really is.
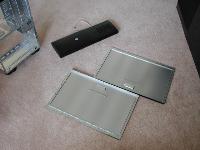
Layout is very important in any case mod. First we set aside all of the loose pieces that needed attention in some
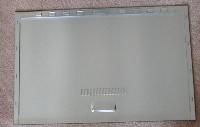
form or another. Then proceeded to mark them up. Here we have the two side panels and the front cover. The last photo
shows where the 92mm fans are going to be placed and what relation they have to the inside of the case (look for the blue lines).
One thing that really ruins a good day of case modding is not checking where you are placing your fans or windows.
Cutting your fan or window to close to the edge makes reassembly quite difficult.

